

Open up Kitchen Convenience: Why a Garbage Disposal is a Must-Have
Installing a garbage disposal is a fantastic kitchen upgrade. These handy appliances make cleanup easier by grinding food scraps into tiny, flushable particles. This keeps your kitchen tidy, protects plumbing from clogs, and reduces food waste—which is good for your home and the environment. For a quick overview of a garbage disposal installation, here's how it works:
Garbage Disposal Installation: Quick Steps
- Preparation: Turn off electricity at the breaker and the water supply. Clear the cabinet area under your sink.
- Mounting: Install the sink flange into the drain opening, sealing it with plumber's putty. Then, attach the mounting assembly from below.
- Unit Connection: Lift the new disposal unit and securely attach it to the mounting ring.
- Plumbing: Connect the disposal's discharge tube to your drain piping, usually including a P-trap. If you have a dishwasher, connect its drain line to the disposal's inlet (remembering to punch out the knockout plug).
- Electrical: Wire the disposal unit safely. This means connecting the hot, neutral, and ground wires correctly.
- Testing: Restore your water supply and check all connections for leaks. Then, turn the electricity back on and test the disposal's operation.
This guide will walk you through choosing the right unit, the plumbing and electrical work, and testing your new disposal. While it may seem like a big job, you can get it done with the right steps.
, 2. Mount (sink flange/assembly), 3. Connect Unit (attach disposal), 4. Plumb (discharge/P-trap/dishwasher), 5. Wire (electrical connections), 6. Test (check for leaks/operation) - garbage disposal installation infographic")
Before You Begin: Choosing Your Unit and Gathering Supplies
Proper preparation is key to a successful garbage disposal installation. Before you start, you'll need to choose the right unit for your household and gather all the necessary tools and materials. This will save you from frustrating mid-project trips to the hardware store.

Choosing the right disposal starts with understanding your options. You'll encounter two main types: continuous feed and batch feed disposals. Most homeowners choose continuous feed units for their convenience—just flip a switch and add scraps as it runs. Batch feed models require you to load them and insert a special stopper to operate, making them a safer but slower option.
| Feature | Continuous Feed | Batch Feed |
|---|---|---|
| Operation | Runs continuously when switched on, food fed as it grinds | Requires a stopper/lid to activate, grinds one batch at a time |
| Convenience | Easier to use, allows for continuous feeding of waste | Slower, requires stopper to be in place |
| Safety | Requires caution as hands can enter while running | Generally safer as it only operates when sealed |
| Noise | Can be louder, but many models have sound insulation | Typically quieter due to sealed operation |
| Cost | More affordable and common | Often costs more due to added safety features |
| Best For | Most households, quick disposal | Homes with children, those valuing quiet operation |
Next, match the horsepower (HP) to your household's needs. A 1/3 to 1/2 HP unit is fine for small households with light use. Average families should consider a 3/4 HP model for better performance. For large families or serious cooks, a 1 HP unit will power through almost anything.
If your home has a septic system, you need a disposal designed for it. These units grind food finer and may use additives to help your septic tank process the waste.
Before buying, measure for clearance under your sink. Higher HP disposals are often bulkier, so ensure you have enough space for the unit, P-trap, and any dishwasher connections.
Mounting systems are typically EZ-mount or 3-bolt. Both work well, but the installation steps differ slightly. Your new unit will include the necessary parts for its system.
Gather your tools and materials before you start. You'll need your new garbage disposal unit, screwdrivers, an adjustable wrench, plumber's putty, safety glasses, and a bucket. For electrical work, have wire strippers, wire nuts, and a non-contact voltage tester. If you're modifying drain lines, you'll need PVC pipes, fittings, cleaner, and glue.
Some units are hardwired, while others use a power cord. If yours doesn't include a cord, you can buy a power cord kit. You can find a unit like the Badger 100 1/3 HP Continuous Feed Garbage Disposal and some plumber's putty at most home centers.
Step-by-Step Garbage Disposal Installation
Now that you have your new unit and tools, let's begin the garbage disposal installation.

Preparing the Work Area and Removing the Old Unit
Safety First: Before touching anything, shut off the power to your kitchen outlet at the circuit breaker. Use a non-contact voltage tester to confirm the power is off. This step is critical. Next, shut off the water using the supply valves under the sink. If there are no valves, turn off your home's main water supply.
Clear the cabinet under your sink to give yourself room to work. If you're replacing an old unit, place a bucket under the P-trap (the U-shaped pipe) to catch water, then loosen the slip nuts with a wrench to disconnect the P-trap.
Garbage disposals are heavy, so support the unit's weight from below as you disconnect it from the mounting ring. Once the old disposal is out, remove the old sink flange and thoroughly clean the sink opening of any old putty or sealant to ensure a proper seal for the new unit. Dispose of your old unit responsibly according to local recycling programs.
Installing the New Mounting Assembly and Flange
To prevent leaks, choose the right sealant. Plumber's putty is ideal for most stainless steel sinks, while silicone caulk is better for granite sinks or other porous stone to prevent staining. Roll a half-inch rope of putty or apply a bead of silicone to the underside of the new sink flange. Install the sink flange by pressing it firmly into the drain opening from above and wipe away any excess sealant.
From underneath, assemble the mounting components. The gasket stack order is important: follow your manual, but it's typically a fiber gasket, backup flange, mounting flange, mounting ring, and finally the snap ring. Secure the snap ring into the groove on the sink flange to lock the assembly in place. Tighten the screws evenly on the mounting ring, alternating between them to ensure uniform pressure and prevent leaks.
Mounting the Disposal and Connecting the Plumbing
Lift the disposal and align its mounting tabs with the ramps on the mounting ring. A clockwise twist will lock it into place. Before fully tightening, align the outlet to point toward your drain line.
If you have a dishwasher, you must knock out the inlet plug on the disposal before connecting the drain hose. Use a hammer and screwdriver to tap out the plastic plug from inside the grinding chamber and remove it. For the dishwasher drain hose, create a high loop (looping the hose higher than the sink drain) or use an air gap as required by local codes to prevent backflow. For a visual guide, see this video: A guide to what's under your sink.
Connect the disposal's discharge tube to the P-trap, ensuring all pipes slope slightly downward toward the main drain. For a double-bowl sink, the second bowl typically drains into a tee fitting before the P-trap. Ensure your pipe sizes match (disposal outlets are 1½ inches), and use repair couplings if you have minor misalignments.
Electrical Requirements for a Safe Garbage Disposal Installation
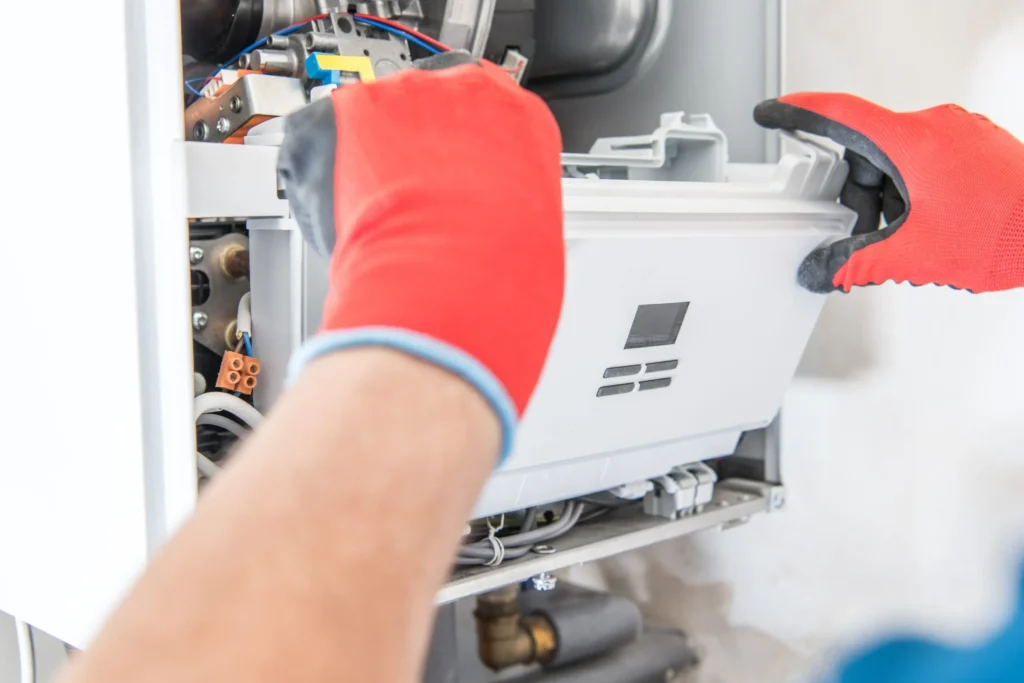
If you are unsure about electrical work, call a professional. Corded units plug into a GFCI outlet, while hardwired units connect directly to your home's wiring. You can add a power cord kit to a hardwired unit for convenience.
Most disposals require a dedicated circuit with GFCI or AFCI protection. Check the unit's amperage requirements against your circuit's capacity. For wiring, follow the color code: black to black (hot), white to white (neutral), and green/bare copper to green (ground). Secure connections with wire nuts inside the disposal's electrical box. For a refresher, watch this video: How to safely strip a wire.
Hire an electrician if you don't have a GFCI outlet, your panel needs an upgrade, or you're uncomfortable with the work. Keep the power off at the breaker until you're ready to test.
After the Install: Testing, Troubleshooting, and Maintenance
Now it's time to test your garbage disposal installation and learn how to maintain it.

Testing for Leaks and Proper Operation
First, restore your water supply by slowly turning on the hot and cold water valves. Next, use a flashlight to check all connections for leaks, including the sink flange, discharge tube, P-trap, and dishwasher inlet.
- Flange leaks usually mean the mounting screws need to be tightened more evenly. If that doesn't work, you may need to re-seat the flange with new plumber's putty.
- Discharge leaks often occur at the drain pipe connections. Check that the rubber gaskets are seated correctly and tighten the slip nuts.
Once you're sure there are no leaks, restore power at the circuit breaker. For the first operational test, turn on the cold water and flip the disposal switch. It should run with a smooth hum. If you hear loud grinding or rattling, turn it off immediately and check for loose parts or debris.
Troubleshooting Common Issues and Mistakes
- Humming but not grinding: The disposal is jammed. Turn off the power. Insert the hex wrench that came with the unit into the hole on the bottom and turn it back and forth to free the grinding plates.
- No sound at all: Press the reset button, a small red button usually on the bottom of the unit.
- Dishwasher won't drain: You likely forgot the dishwasher knockout. Disconnect the hose and punch out the plastic plug inside the disposal's dishwasher inlet.
- Leaks from connections: You may have over-tightened plastic fittings, causing them to crack. Hand-tighten first, then use a wrench for a final quarter-turn.
- Slow draining or odors: Check for improper P-trap assembly. Ensure it forms a distinct "P" shape with a slight downward slope to the main drain.
Routine Maintenance and Best Practices
To keep your disposal running well, always use cold water when grinding food and for 20 seconds after. Cold water solidifies grease so it can be ground and flushed away.
What not to put in your disposal: Avoid fibrous foods (celery, corn husks), grease and oil, starchy foods (potato peels, pasta), hard items (bones, fruit pits), coffee grounds, and eggshells. These can cause clogs and damage.
For cleaning, grind a tray of ice cubes monthly to scrape away buildup. Add some citrus peels for a fresh scent.
Safety first: Never put your hand in a disposal. If something falls in, turn off the power at the switch and the breaker, then use tongs or pliers to retrieve it.
Navigating Codes and Knowing When to Call a Pro
While a DIY garbage disposal installation is achievable, it's important to know when to call a professional.
Local plumbing and electrical codes vary by location. Some communities have specific rules, like requiring air gaps for dishwashers, while others may restrict disposal use entirely. Electrical codes dictate requirements for dedicated circuits and GFCI/AFCI protection. A quick call to your local building department can clarify these rules and any permit requirements.
For an experienced DIYer, this project can take about 3 hours. If you're new to this work, plan for a full day to ensure you do it right.
Consider calling a professional in these situations:
- Your under-sink plumbing is complex, old, or corroded.
- You do not have a dedicated, GFCI-protected outlet under the sink.
- You are not comfortable with any part of the process, especially the electrical work.
The peace of mind from knowing the job is done correctly and safely by a licensed professional is invaluable and can prevent costly future repairs. Sometimes the smartest DIY decision is knowing when to ask for help.
Frequently Asked Questions about Garbage Disposal Installation
Here are answers to some common questions about garbage disposal installation.
Are garbage disposals interchangeable?
Mostly, yes. Sink opening standards (3-1/2 to 4 inches) and drain outlet standards (1-1/2 inches) mean most new disposals will fit your existing plumbing. However, watch out for a few key differences:
- Mounting system compatibility: If your new unit has a different mounting system (e.g., 3-bolt vs. EZ-mount), you'll need to replace the entire assembly on the sink.
- Physical dimensions: A more powerful disposal is often larger. Measure your under-sink space to ensure it will fit.
- Outlet position: The discharge outlet's location can vary slightly, which may require minor adjustments to your drain pipes.
Always check specifications before purchase to avoid extra trips to the hardware store.
How much horsepower (HP) do I really need?
The right HP depends on your household's cooking habits.
- 1/3 to 1/2 HP: Good for small households with light food scraps.
- 3/4 HP: The best choice for average families who cook regularly, offering a good balance of power and performance.
- 1 HP: Ideal for large families or avid cooks who generate a lot of food waste. These units can handle tougher scraps with fewer jams.
More power costs more and takes up more space, but upgrading can be worth it if you frequently deal with jams.
What's the most critical safety step during installation?
Without a doubt, locking out power at the breaker is the most critical safety step. Electricity and water are a dangerous combination.
Go to your main electrical panel, flip the correct breaker to "OFF," and then verify the power is off with a non-contact voltage tester. Test the outlet or wires you'll be working with to ensure there is no live current. This simple check is a top electrical safety priority and prevents serious injury.
If you are at all uncomfortable with electrical work, call a licensed electrician.
Your Partner for a Flawless Installation
Congratulations on learning the steps for a successful garbage disposal installation! We hope this guide has given you the confidence to tackle this project.
A modern garbage disposal is a game-changer for any kitchen, offering a cleaner sink, less food waste, and better plumbing protection. These benefits are fully realized when the unit is installed correctly and safely.
We love empowering homeowners to take on projects, but we also know that sometimes you need a helping hand. That's where Holy City Heating & Air LLC comes in.
We combine the resources of a growing business with the personal care of a local friend. Our team of EPA-certified, licensed professionals is dedicated to delivering top-quality solutions with integrity. We proudly serve Charleston and the surrounding areas, ensuring every home feels comfortable and cared for.
If you encounter a tricky pipe or simply prefer the peace of mind that comes with a professional touch, we are here for you. For a flawless, worry-free garbage disposal installation or any other plumbing needs, don't hesitate to reach out.
Contact our expert plumbers in Mt. Pleasant, SC for professional installation


Recent posts
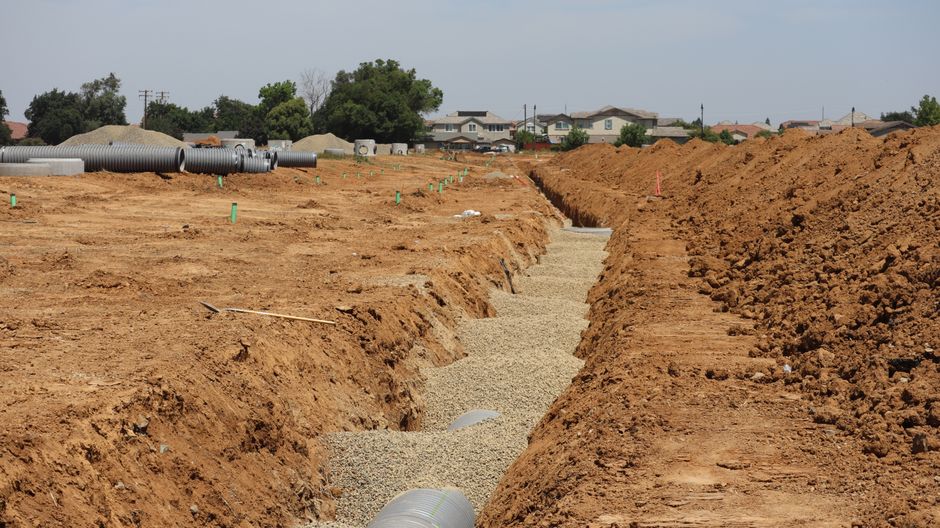
In Depth Guide to Geothermal Ground Loops Lifespan
July 7, 2026

A Comprehensive Guide to How a Maintenance Plan Extends Equipment Life
July 6, 2026

The Ultimate Guide to Geothermal Pros and Cons for Charleston Area Homes
July 3, 2026


