Why You Shouldn't Ignore That Drip
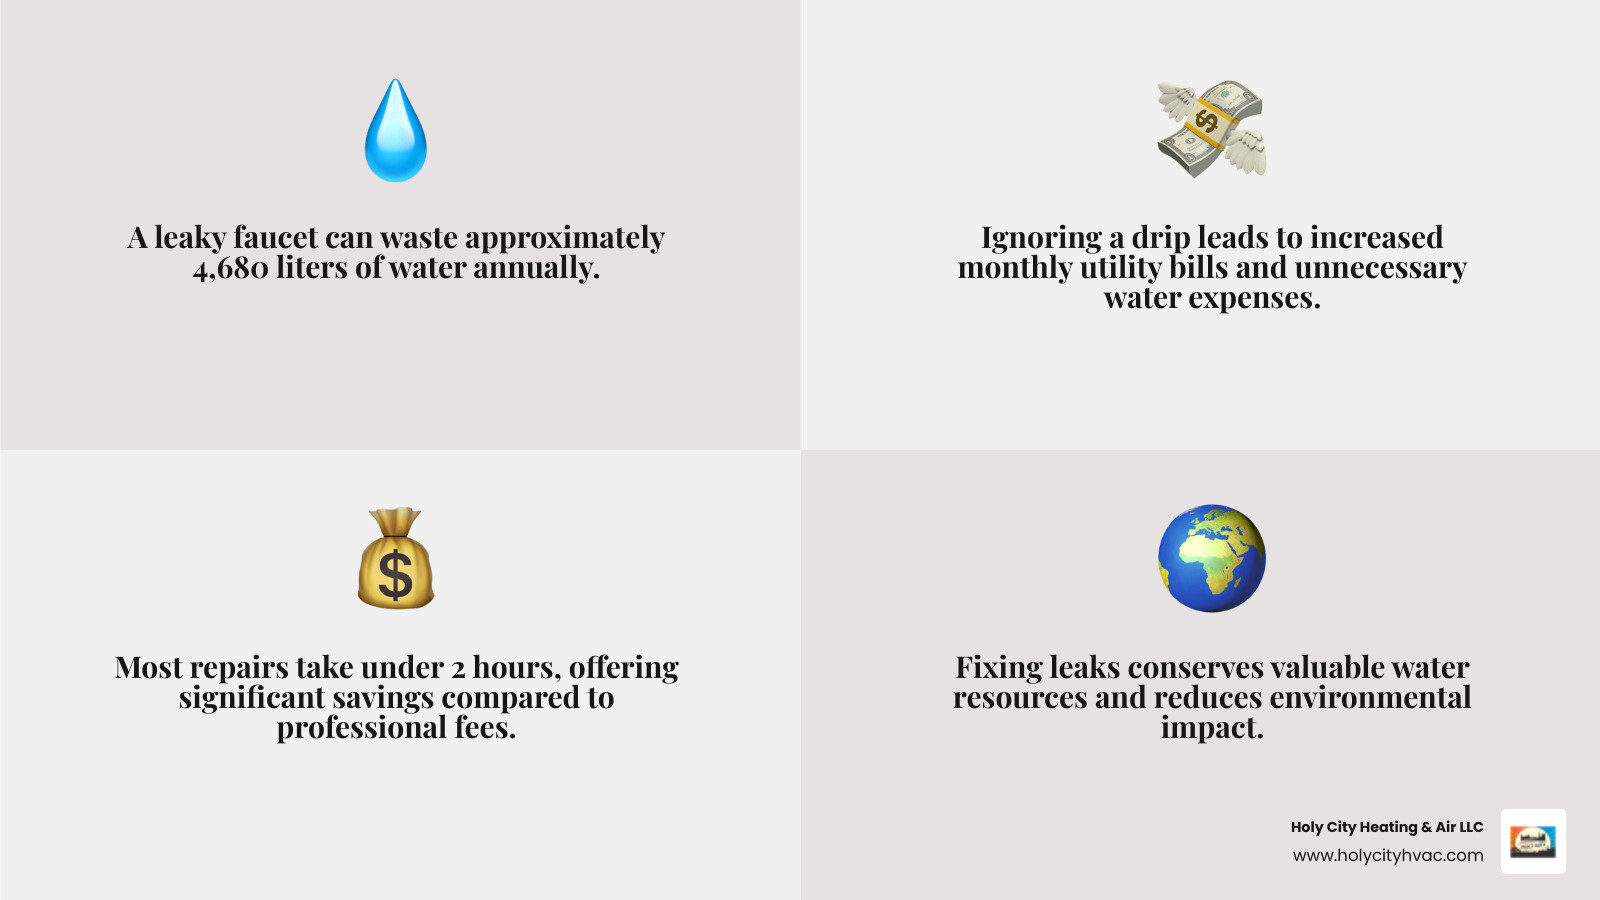
Leaky faucet fix is one of the most common household repairs, and ignoring that persistent drip can cost you more than just lost sleep. According to our research, a leaky faucet can waste approximately 90 liters of water per week - that's enough to fill a bathtub!
Quick Fix Summary:
- Turn off water supply under the sink
- Remove faucet handle (unscrew or pry off decorative cap)
- Replace worn parts - usually washers, O-rings, or cartridge
- Reassemble and test for leaks
- Most repairs take under 2 hours with basic tools
The good news? Most faucet leaks are surprisingly fixable with just a few tools and a bit of know-how. The most common culprits are simple worn-out parts:
- Worn washers or gaskets
- Loose O-rings
- Corrosion in the valve seat
- Mineral buildup from hard water
This budget-friendly project can save you money on both your water bill and plumber fees. As one DIY enthusiast put it: "The repairs are not really that complicated but can be tedious." With the right approach, even amateur DIYers can tackle this fix successfully.
Don't let that constant drip-drip-drip drain your wallet. Let's get your faucet fixed and your water bills back under control.
Preparation is Key: Tools, Parts, and Faucet Types
Before diving into your leaky faucet fix, a little prep work will save you hours of frustration later. Think of it like cooking – having all your ingredients ready makes the whole process so much smoother!
The most important rule? Always shut off the water supply before you start. Trust us on this one – nobody wants an impromptu kitchen shower! You'll usually find shut-off valves under the sink, one for hot water and one for cold. If those valves are old, stuck, or missing entirely, you might need to turn off your home's main water supply.
Finding the right replacement parts is crucial for a successful repair. Your best bet is to remove the old, worn part first, then take it with you to the hardware store. If possible, also jot down your faucet's manufacturer and model number – you'll often find this stamped on the faucet itself or in the original paperwork.
Finally, protect your workspace and sanity. Cover the drain with an old towel or cloth to catch any small screws that inevitably try to escape. Clear your counter space and have a small bucket ready for any residual water. A little organization now prevents a lot of headaches later.
Step 1: The Essential Leaky Faucet Fix Toolkit
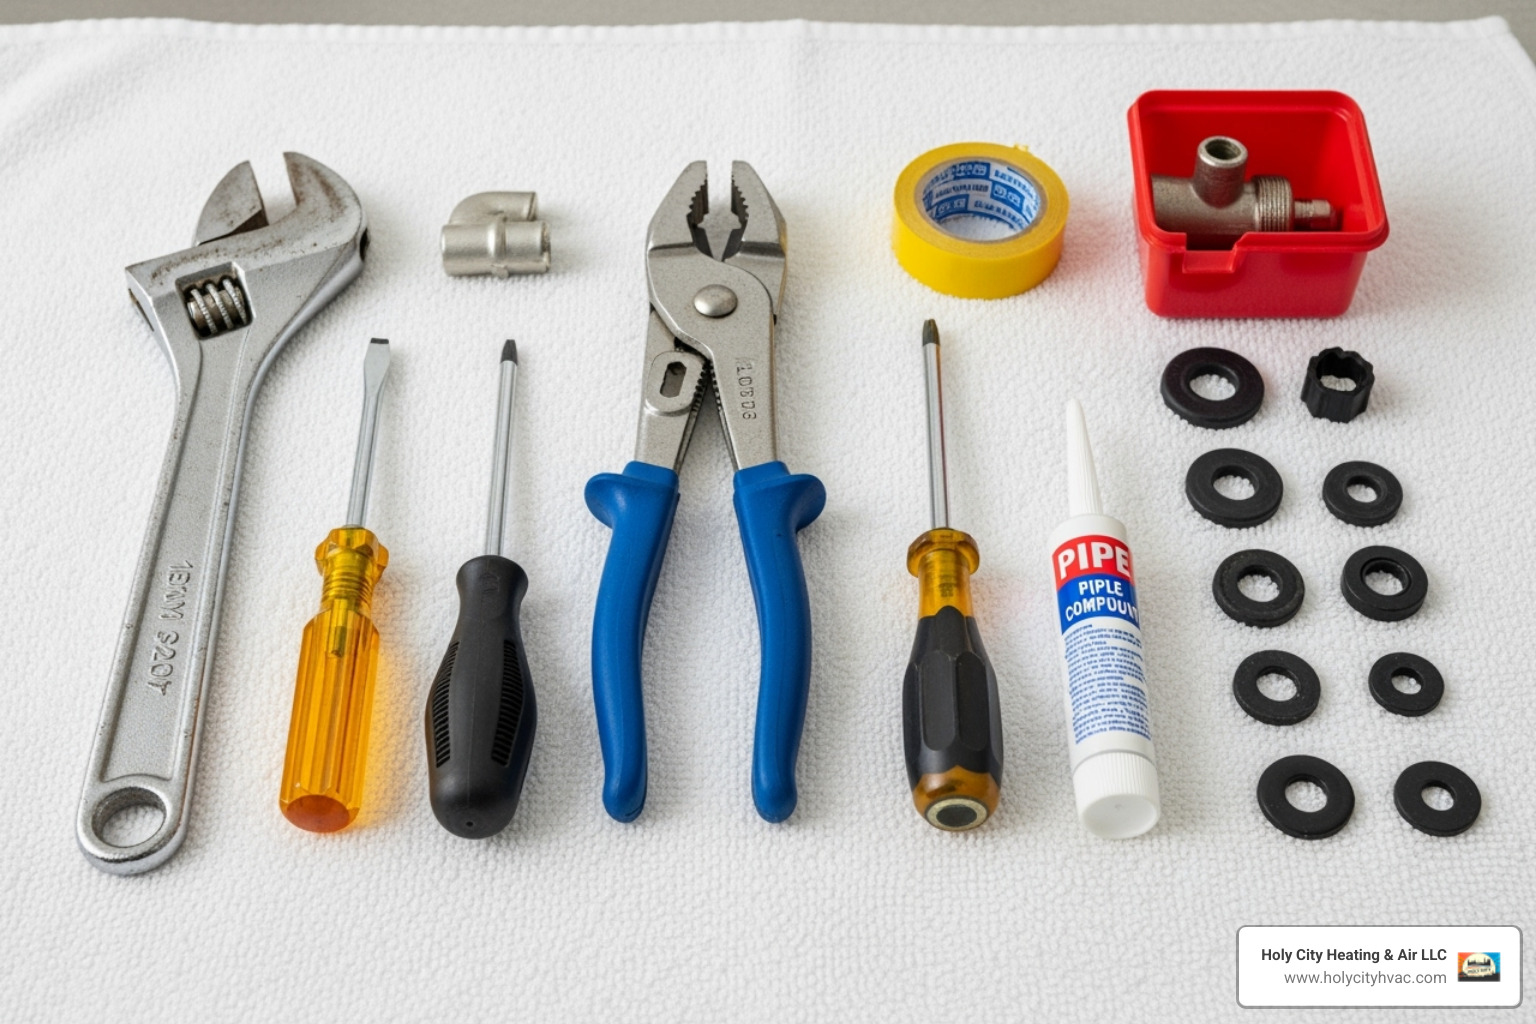
You don't need a professional plumber's entire truck to tackle most leaky faucet fix projects. Here's what you'll actually use:
- Adjustable wrench for loosening nuts and fittings
- Screwdrivers (both Phillips and flathead) for handle screws
- Pliers (needle-nose work great) for gripping small parts
- Penetrating oil like WD-40 for stubborn, corroded pieces
- Replacement parts (washers, O-rings, or cartridges)
- Small bucket to catch water when you disconnect lines
- Old towels for cleanup and protecting your sink
- Flashlight or headlamp because plumbing always happens in dark spaces
- Cloth or sink stopper to prevent parts from disappearing down the drain
Most of these tools you probably already have in your toolbox. The replacement parts are usually the only things you'll need to buy, and they're surprisingly affordable.
Step 2: Identify Your Faucet Type
Here's where things get interesting – not all faucets are created equal! There are four main types, and knowing which one you have determines your repair approach.
| Faucet Type | Description | Common Leak Cause | Repair Difficulty |
|---|---|---|---|
| Compression | Two separate handles for hot and cold | Worn washers and O-rings | Easy |
| Ball | Single handle with a ball bearing mechanism | Worn seals and springs | Moderate |
| Cartridge | Single or double handle with replaceable cartridge | Worn cartridge or O-rings | Easy to Moderate |
| Ceramic Disc | Single handle with ceramic discs | Damaged ceramic discs or inlet seals | Moderate |
Two-handle faucets are usually compression or cartridge types, while single-handle faucets can be ball, cartridge, or ceramic disc. When in doubt, take a photo of your faucet to the hardware store – the staff can usually identify it quickly and point you toward the right parts.
Step 3: Turn Off the Water and Prepare Your Workspace
This step is absolutely critical for any leaky faucet fix. Skip it, and you'll turn a simple repair into an indoor water park!
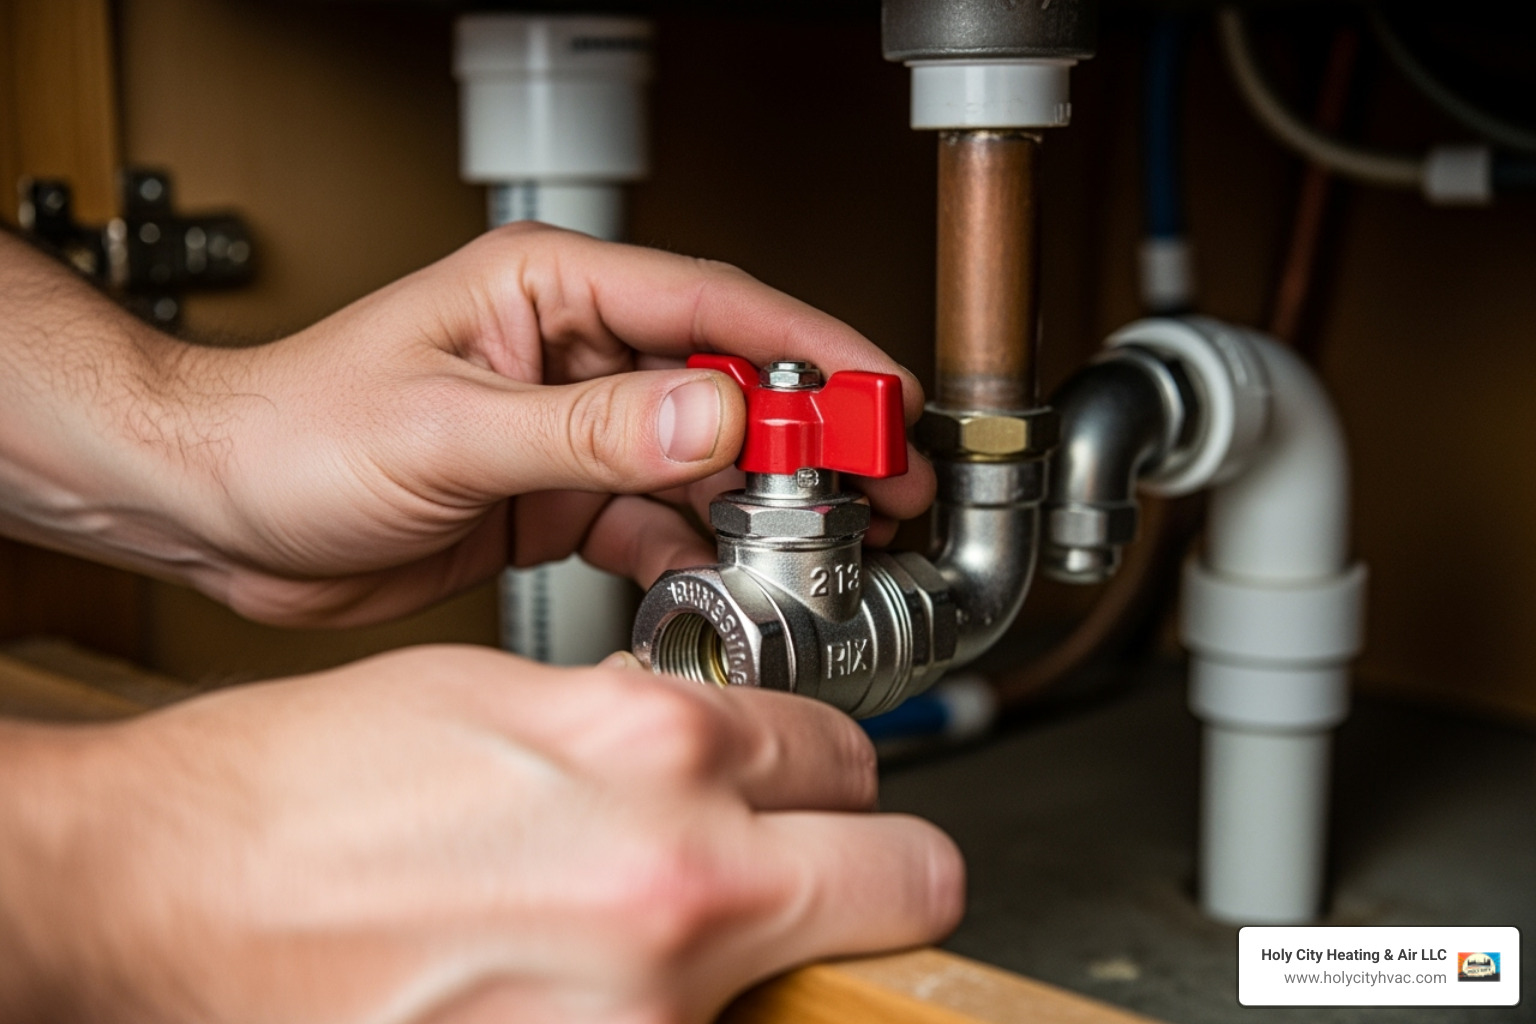
Locate the shut-off valves under your sink – you'll see two small knobs or levers, one for hot water and one for cold. Turn them clockwise until they're completely closed. Don't force them if they're stiff; old valves can break if you're too aggressive.
Once the valves are closed, turn on the faucet to drain any remaining water from the lines. This releases pressure and prevents surprises when you start taking things apart.
Clear your work area by removing everything from under the sink that might get in your way. Also clear the counter space around the faucet. Place a towel in the sink basin to catch small parts and protect your sink's finish.
If you can't find or operate the under-sink valves, you'll need to turn off the main water supply to your house. This valve is typically located near your water meter, often outside or in a basement. It's a bigger hassle, but sometimes necessary for older homes without individual shut-offs.
Your Step-by-Step Leaky Faucet Fix Guide
Now comes the moment of truth – time to roll up those sleeves and tackle that persistent drip! The repair process varies depending on your faucet type, but don't worry. We'll walk you through each step with the patience of a favorite uncle teaching you to ride a bike.
The key to any successful leaky faucet fix is taking your time and staying organized. Keep track of parts as you remove them (that towel in your sink will be your best friend), and remember – if something feels stuck, a little penetrating oil works wonders.
Fixing a Compression Faucet (Two Handles)
Compression faucets are the "granddaddy" of all faucets, and honestly, they're often the most forgiving when it comes to DIY repairs. If your faucet has two separate handles – one for hot, one for cold – you're dealing with a compression faucet. The good news? The leaky faucet fix is usually as simple as replacing a worn rubber washer.
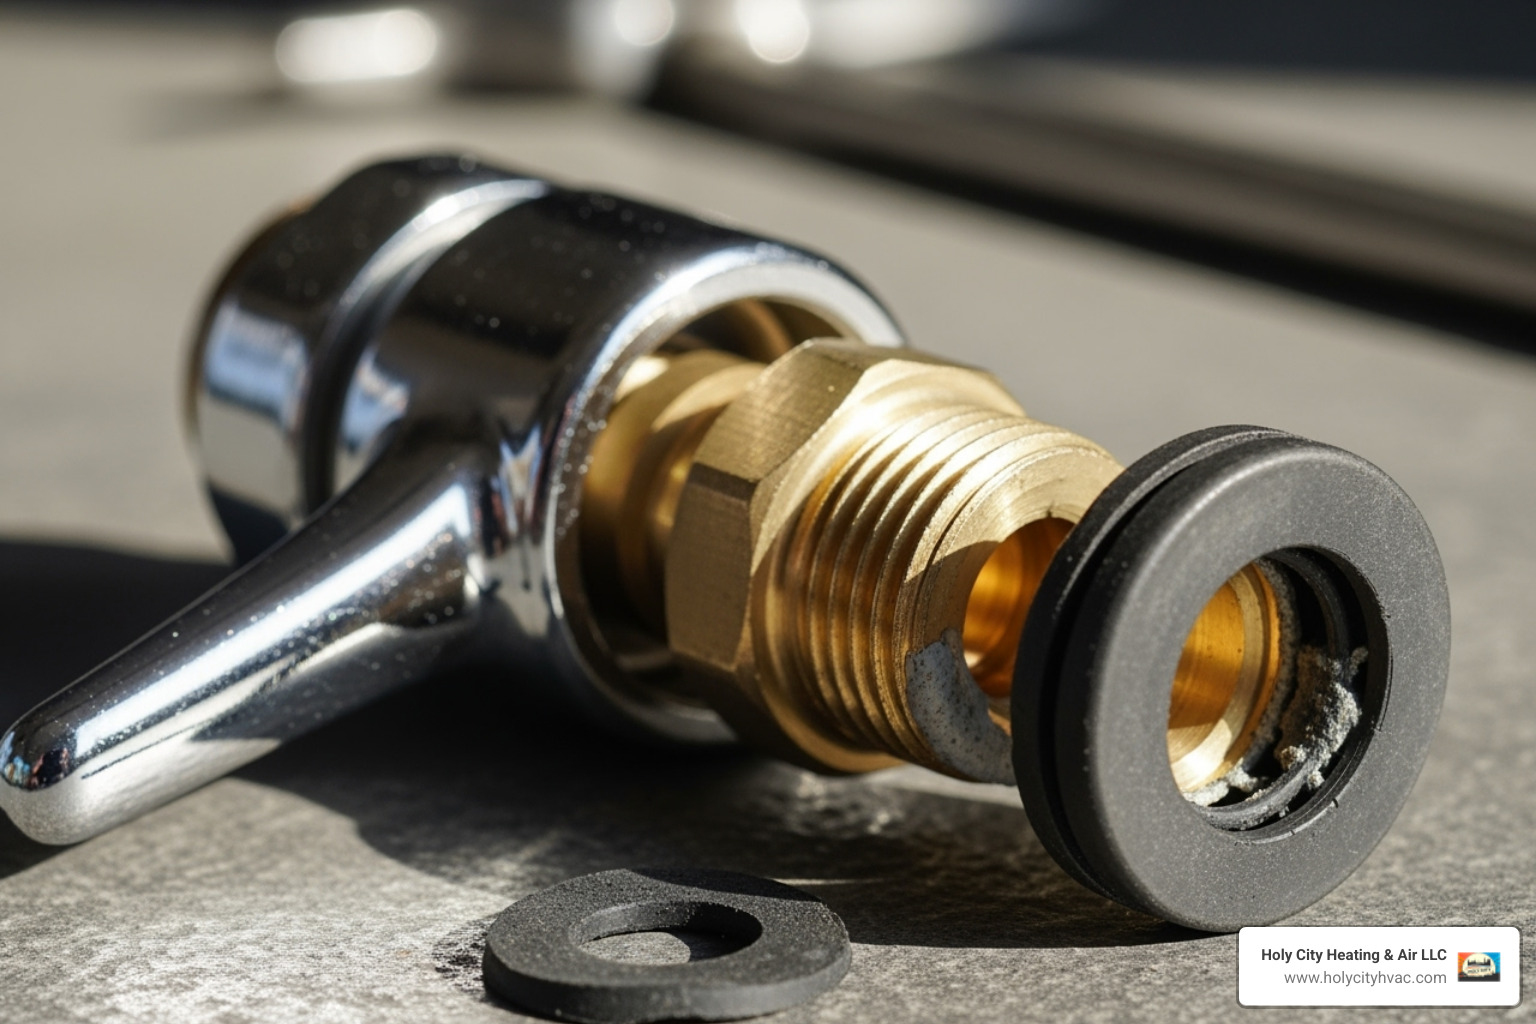
Start by prying off the decorative cap on top of the leaky handle. Most caps pop off easily with a flathead screwdriver, but be gentle – you don't want to scratch the finish. Underneath, you'll find a handle screw (usually Phillips head) that needs to come out.
Once the screw is removed, the handle should lift straight off. If it's being stubborn, try a gentle wiggle or a small amount of penetrating oil around the base. Don't force it – patience wins the day here.
With the handle off, you'll see a hexagonal packing nut holding everything together. Use your adjustable wrench to turn it counter-clockwise until it comes free. The entire stem assembly should then lift out with a gentle twist and pull.
Here's where the magic happens: flip that stem over and look at the bottom. You'll see a small rubber washer held by a brass screw – this little guy is almost always the culprit behind your leak. Remove the brass screw, swap out that old washer for a fresh one of the exact same size, and you're halfway home.
Don't forget to check for any O-rings around the stem while you're at it. If they look cracked or worn, replace them too. A thin coat of plumber's grease on new O-rings makes reassembly smoother and creates a better seal.
Reassembly is just the reverse process: stem back in, packing nut snug (but not overtight), handle back on, screw in, cap on. Turn your water supply back on slowly and test both hot and cold. If you did everything right, that annoying drip should be history!
For a visual walkthrough, check out this helpful video guide to faucet repair. And if you're running into other plumbing headaches around the house, our solutions for common plumbing issues might save the day.
Fixing a Ball, Cartridge, or Ceramic Disc Faucet (Single Handle)
Single-handle faucets are the sleek, modern cousins of compression faucets. They control both temperature and flow with one handle, which is convenient for daily use but can make the leaky faucet fix a bit more involved. The internal mechanisms vary, but the principle remains the same – find the worn part and replace it.
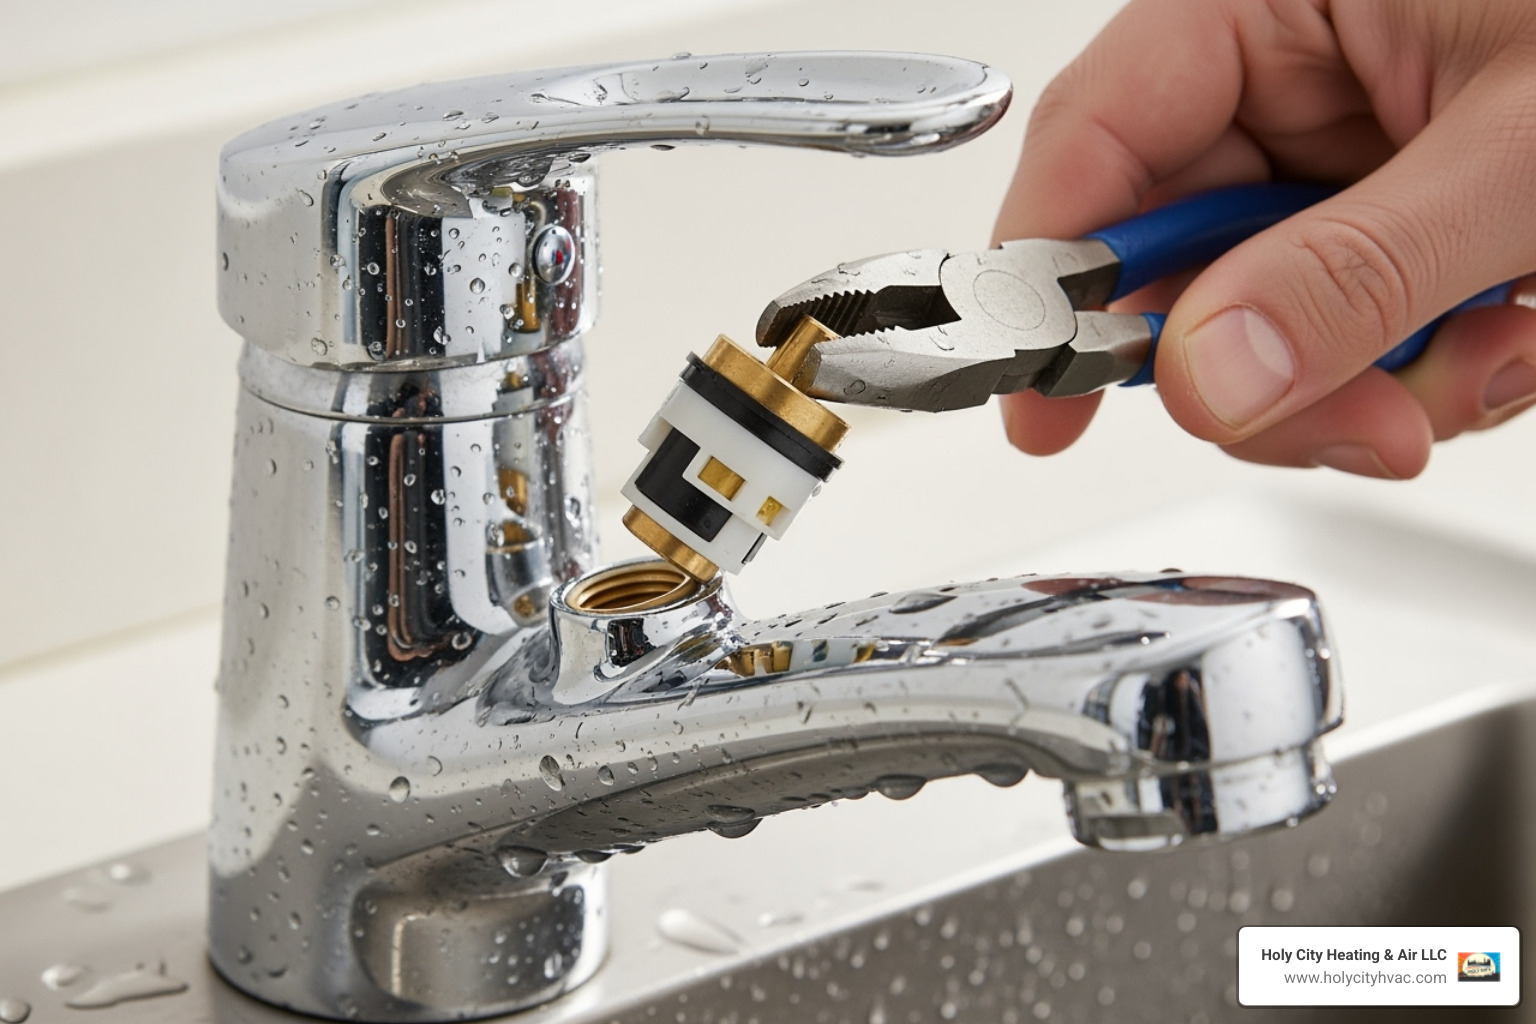
Your first mission is finding the set screw – it's usually hiding on the side or back of the handle base. This little hex or Allen screw is what keeps your handle in place. Loosen it up and the handle should lift right off.
What you see next depends on your faucet type. Ball faucets have a rounded cap that needs to come off first, revealing the cam and washer assembly underneath. You might need a specialized faucet wrench for the retaining nut, but don't panic – most hardware stores rent or sell these tools cheaply.
For cartridge and ceramic disc faucets, you'll typically see a retaining clip or nut holding the main component in place. Remove that clip or loosen the nut, then gently pull the cartridge or disc assembly straight up and out. If it's stuck, pliers can help, but be gentle.
Here's where things get specific to your faucet type. Ball faucets need their rubber seats and springs replaced – these usually come in a handy repair kit. Check that ball for scratches or nicks too; if it's damaged, the whole ball needs replacing.
Cartridge faucets are often the easiest – just swap out the entire cartridge for an exact match. Pay attention to how it's oriented before removal, because it needs to go back in exactly the same way.
Ceramic disc faucets require replacing the entire disc assembly if the ceramic discs are cracked or worn. Look for worn rubber seals or O-rings around the assembly while you're at it.
Don't forget about O-rings on the faucet body or spout – these can cause leaks at the base of the faucet. If they look worn, swap them out and apply some plumber's grease.
Installation is the reverse of removal: new part in (properly aligned!), retaining clip or nut secured, handle back on, set screw tightened. Turn that water supply back on slowly and give everything a test run.
If this all sounds more complicated than you bargained for, or if you'd rather spend your weekend doing literally anything else, our team at Holy City Heating & Air is always ready to help. We offer comprehensive plumbing services in Charleston, SC, and we promise to get that drip fixed right the first time.
Troubleshooting and Advanced Fixes
Sometimes the most frustrating part of a leaky faucet fix isn't the initial repair – it's when you've done everything right, but that stubborn drip just won't quit. Don't worry, you're not alone in this battle! Even experienced DIYers occasionally need to dig a little deeper to solve persistent leaks.
Troubleshooting Your Leaky Faucet Fix: When Drips Persist
That sinking feeling when you turn the water back on and still hear drip... drip... drip is all too familiar. Before you throw in the towel, let's walk through some common culprits that might be sabotaging your repair efforts.
Check your alignment first. Sometimes a new cartridge or washer doesn't seat quite right during reassembly. It happens to the best of us! Take a moment to disassemble the faucet again and double-check that everything is snugly positioned. Think of it like putting together a puzzle piece – there's usually only one way it fits perfectly.
Look for leaks from the faucet base. If water is seeping from around the base rather than dripping from the spout, you're dealing with worn O-rings or internal seals. This is especially common in single-handle faucets where the spout swivels. Those O-rings take a beating over the years and often need replacement even when the main components look fine.
Here's where things get more technical: the valve seat might be pitted. In compression faucets, the metal surface where your new rubber washer presses can become rough and corroded over time. Even the best washer won't seal against a damaged seat. You can resurface it with a special grinding tool, but this requires a delicate touch – too much grinding and you'll create bigger problems.
Frozen or corroded parts can also throw a wrench in your plans. If you had to wrestle with rusted components during disassembly, the metal itself might be too compromised for a proper seal. Penetrating oil helps, but sometimes parts are simply past their prime.
If you're dealing with mysterious leak spots – water appearing in odd places that don't seem connected to your faucet – you might have a different issue entirely. Loose supply line connections or drain assembly problems can masquerade as faucet leaks.
When troubleshooting feels overwhelming, our team at Holy City Heating & Air is here to help. We offer comprehensive Plumbing Services in Mount Pleasant, SC for those tricky situations that need professional expertise.
Dealing with Mineral Buildup and Temporary Fixes
Living in Charleston means dealing with hard water effects – those pesky minerals that love to make themselves at home in your plumbing. Calcium and magnesium buildup isn't just unsightly; it can prevent proper sealing and contribute to persistent leaks even after you've replaced all the right parts.
Cleaning mineral deposits can work wonders for your leaky faucet fix. Start with the aerator – that little screen at the end of your spout. Unscrew it and give it an overnight vinegar soak. You'll be amazed at what comes off! For internal parts, a soft brush and white vinegar can gently remove buildup without damaging delicate components.
Sometimes life throws curveballs, and you need temporary fixes while you gather parts or wait for a better time to tackle the full repair. The most effective stopgap measure is simply shutting off the water at the valve when the faucet isn't in use. It's not glamorous, but it stops water waste and prevents potential damage.
We've seen people try creative solutions like cork stoppers, but water pressure is a formidable opponent – these makeshift fixes rarely last long. For additional guidance on faucet repairs, you might find this resource helpful: How to Fix a Leaky Faucet.
There's no shame in calling for backup when a repair gets complicated. Sometimes the most cost-effective solution is getting it done right the first time by a professional who's seen it all before.
DIY vs. Calling a Pro: Knowing Your Limits
We absolutely love empowering homeowners to tackle their own leaky faucet fix projects! There's something incredibly satisfying about rolling up your sleeves, figuring out the problem, and saving money in the process. Plus, you'll gain valuable skills and confidence for future home repairs.
But here's the thing – knowing when you're in over your head is just as important as knowing how to turn a wrench. Sometimes the smartest move is stepping back and calling in the experts.
The Pros and Cons of DIY Repair
Let's be honest about what you're getting into with a DIY leaky faucet fix. On the bright side, you'll enjoy significant cost savings – parts typically cost under $20, while a plumber's visit can run much higher. There's also the learning experience factor. Once you've successfully fixed one faucet, you'll feel confident tackling similar repairs throughout your home.
The convenience is pretty sweet too. No waiting around for appointment windows or taking time off work. You can fix that annoying drip at 10 PM on a Sunday if you want to.
However, DIY repairs come with their own challenges. Risk of mistakes is real – one wrong move and you might turn a simple drip into a kitchen flood. Some repairs require specialized tools that you might not have lying around, like faucet seat grinders or cartridge pullers.
Time consumption can be surprising, especially if you run into unexpected complications. What looks like a 30-minute job can easily stretch into an entire afternoon when you find corroded parts or make multiple trips to the hardware store.
There's also the warranty consideration. Some newer faucets might have warranties that could be voided by DIY repairs, though this is less common with basic maintenance like replacing washers.
When to Call a Professional Plumber
Sometimes your faucet is trying to tell you it needs professional attention. Here are the clear signs it's time to put down your wrench and pick up your phone.
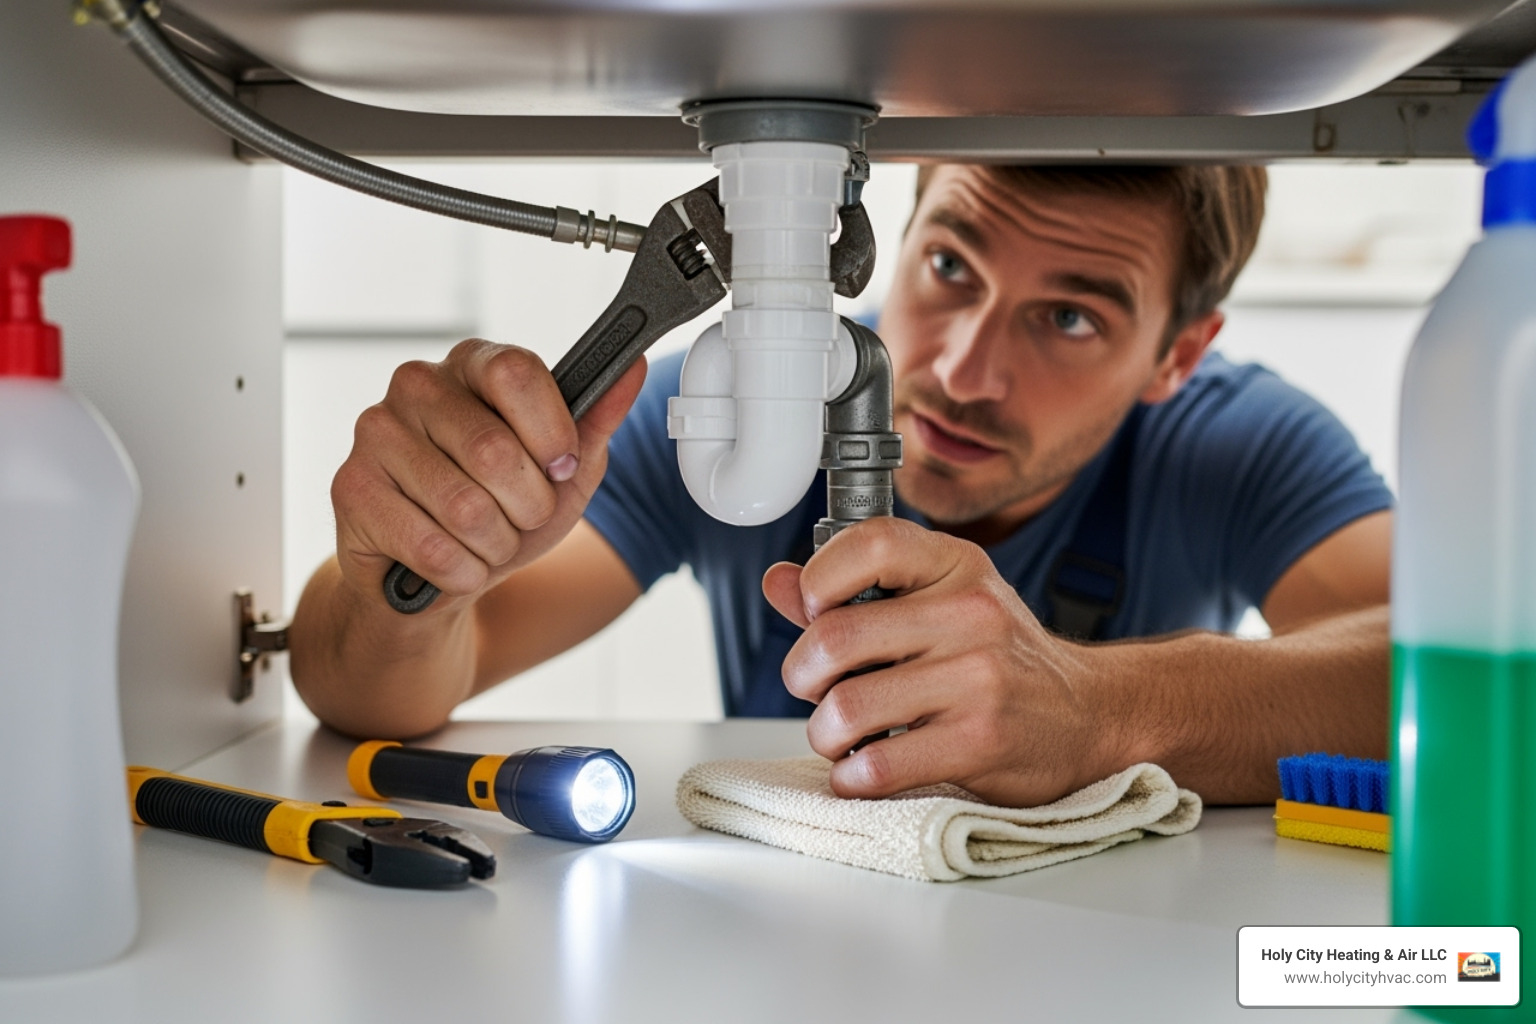
Rusted or frozen parts are a major red flag. If you're applying reasonable force and components won't budge, stop immediately. Forcing corroded parts can crack the faucet body or damage surrounding pipes, turning a simple repair into a major replacement job.
Major gushers require immediate professional attention. If your gentle drip suddenly becomes a steady stream or spray, shut off the main water supply right away and call for help. This usually indicates a significant internal failure that's beyond basic DIY repair.
Leaks inside walls are definitely professional territory. If water is appearing behind walls, under floors, or in unexpected places, you're dealing with a much more complex problem. These hidden leaks can cause serious structural damage, mold growth, and expensive repairs if not addressed quickly and properly.
Very old or antique faucets often require specialized knowledge and hard-to-find parts. Sometimes the cost and effort of tracking down vintage components makes replacement more sensible than repair.
Multiple failed attempts suggest there's an underlying issue you might be missing. If you've replaced parts twice and the leak keeps returning, it's time for professional diagnosis.
Most importantly, trust your gut. If you're feeling frustrated, overwhelmed, or worried about causing damage, that's your cue to step back. There's no shame in recognizing your limits – it actually shows wisdom and can save you from bigger headaches down the road.
At Holy City Heating & Air, we've seen it all over our 20+ years in the business. Our EPA-certified, licensed professionals combine extensive experience with genuine care for our Charleston-area neighbors. We're always here when you need expert help with your plumbing challenges.
If you're in our service area and ready for professional assistance, our team provides reliable Plumbing Services in James Island, SC with the personal attention you deserve.
Conclusion: Enjoy Your Drip-Free Home and Prevent Future Leaks
There's nothing quite like the sweet sound of silence – especially when it means your leaky faucet fix was a complete success! Take a moment to appreciate what you've accomplished. Not only have you stopped that annoying drip-drip-drip, but you've also saved yourself some serious money on your water bill and gained valuable DIY skills in the process.
The sense of accomplishment that comes from fixing something with your own hands is truly rewarding. You've joined the ranks of capable homeowners who aren't afraid to roll up their sleeves and tackle household repairs. Plus, you're now armed with the knowledge to handle similar issues in the future.
Preventing future leaks is just as important as fixing the current one. A little maintenance goes a long way in keeping your faucets running smoothly. Regular maintenance doesn't have to be complicated – simply check your faucets periodically for any signs of drips or unusual stiffness when turning the handles. Catching problems early can save you from bigger headaches down the road.
Here's something many homeowners don't realize: avoid excessive force when turning off your faucets. That firm twist you give the handle might feel satisfying, but it's actually wearing out your washers and internal components faster. A gentle turn is all you need for a proper seal, and your faucet parts will thank you by lasting much longer.
If you live in Charleston's hard water areas, you'll want to stay ahead of mineral buildup. Regular cleaning and maintenance can prevent those stubborn deposits from causing future leaks and reducing your water pressure.
While we've covered the most common leaky faucet fix scenarios, some plumbing challenges require professional expertise. When you encounter complex plumbing issues, water line problems, or anything that feels beyond your comfort zone, that's where Holy City Heating & Air steps in. We're rooted right here in the Charleston community, and we've been helping families like yours maintain comfortable, efficient homes since 2015.
Our EPA-certified, licensed professionals bring over 20 years of industry expertise to every job. We understand that your home is your sanctuary, and we're committed to keeping it that way with integrity and best service.
Ready to tackle your next home improvement project, or need help with a more challenging plumbing task? Contact our North Charleston plumbers for expert service – we're here to ensure your home stays comfortable and worry-free!
Recent posts


