Why Outdoor Shower Enclosures Are the Perfect Addition to Your Home
Learning how to install an outdoor shower enclosure can transform your backyard into a private oasis. Here's a quick overview of the process:
Quick Installation Overview:
- Plan your location - Near water lines, good drainage, adequate privacy
- Gather materials - Posts, wall panels, door, hardware, concrete mix
- Set foundation - Dig holes, install posts with concrete, ensure level
- Build enclosure - Attach wall panels, install door with hinges
- Connect plumbing - Hook up water supply and drainage system
- Add finishing touches - Install fixtures, test system, weatherproof wood
An outdoor shower is perfect for rinsing off after a day at Folly Beach or for cleaning up kids and pets without tracking dirt inside. As one homeowner put it: "It's really amazing how wonderful it is to have summer showers outdoors, day or night. I keep finding excuses to go out and use it."
These versatile structures provide privacy for changing, a spa-like bathing experience, and a way to connect with nature. While 3 square feet is the minimum space needed, most homeowners prefer larger designs with benches and storage.
Installation typically takes 2-4 hours for standard kits, making it an achievable weekend project. The key is proper planning, including considering proximity to plumbing, drainage solutions, and local building codes before you begin.

Planning and Designing Your Outdoor Oasis
A successful how to install an outdoor shower enclosure project begins with careful planning. This phase lays the groundwork for a backyard retreat you'll enjoy for years.
Choosing the right location is critical. Proximity to water lines is a top priority, as being closer to existing plumbing simplifies installation and reduces cost. For detailed guidance, see our guide on Best Location Options for Outdoor Showers.
Also consider sun exposure; a sunny spot helps the enclosure dry quickly, preventing mustiness. Ensure you have enough privacy from neighbors. Proper drainage is also essential to prevent water from pooling near your home's foundation. A slight slope away from structures is ideal.
When sizing your shower, while 3 square feet is the minimum, it can feel cramped. Consider adding room for changing, a bench, or storage. You'll also need to choose an enclosure type. Freestanding units offer placement flexibility, while wall-mounted options use an existing wall for support and privacy.
Decide between DIY vs. professional installation. Simple cold-water hookups are often a DIY job, but connecting hot water lines may require a professional. Finally, check local permits and codes, especially for new water lines or connections to a waste system.
Choosing the Right Materials for Durability
Choosing durable, weather-resistant materials is key to a long-lasting outdoor shower. You have several excellent options.
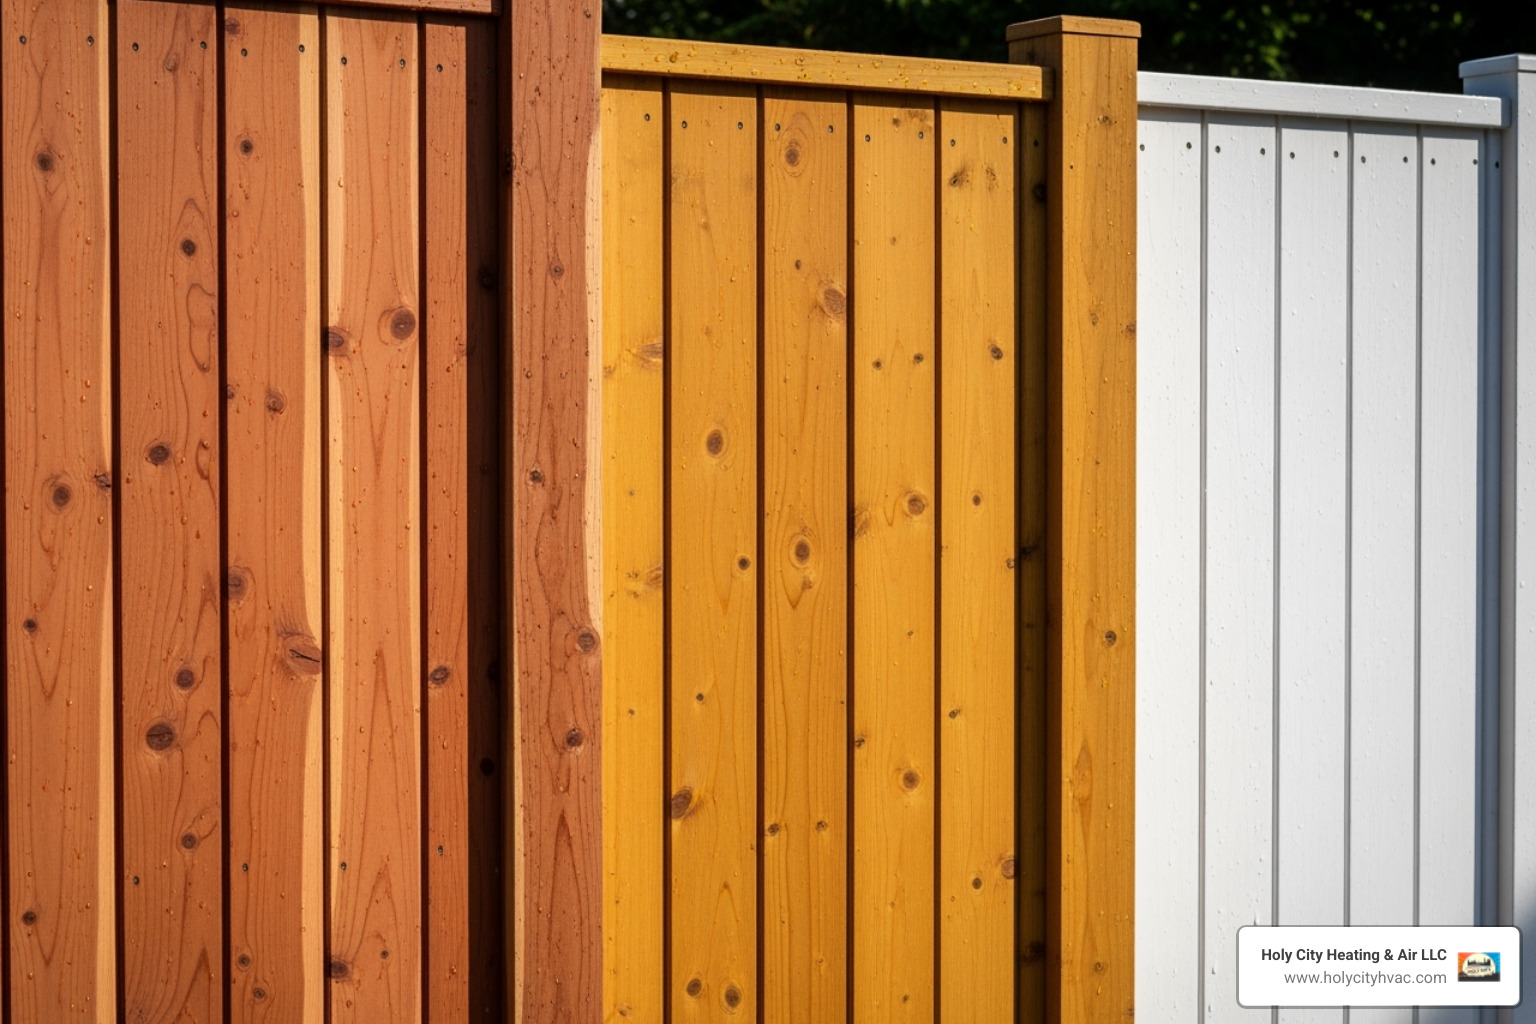
For weather-resistant wood, cedar is a top choice for its natural resistance to rot and insects. Teak is also highly durable but more expensive. Pressure-treated lumber is a great value for structural parts like posts and framing. For an eco-friendly option, choose sustainably harvested wood certified by the Forest Stewardship Council.
Composite materials and vinyl kits are low-maintenance alternatives. Vinyl is particularly durable, as it won't rot, warp, or need staining. For metal fixtures, choose corrosion-resistant stainless steel, especially in coastal areas like Charleston. Bronze and copper are beautiful, durable options that develop a patina over time.
Essential Tools and Components
Gathering all your tools and components beforehand will save time. Essential tools include a post hole digger, level, drill, saw, hammer, measuring tape, and safety gear (glasses and gloves). You'll also need a bucket for mixing concrete and clamps.
For components, you'll need lumber (typically 4x4 pressure-treated posts and 2x4s for framing) and wall materials. Use 8-foot posts to allow for 2 feet to be buried for stability. Wall panels or slats can be pre-assembled or custom-built. A matching door can be purchased or built. Use quality hardware: choose heavy-duty, rust-resistant hinges, a smooth-operating latch, and galvanized or stainless steel fasteners. You'll also need concrete mix to secure the posts.
Step-by-Step Guide: How to Install an Outdoor Shower Enclosure
Now it's time to build your outdoor shower enclosure. The process is straightforward if you follow these steps. Safety first: wear protective gear, work carefully, and call a professional if you're unsure about any step. If using a kit, follow the manufacturer's instructions. For more guidance, see our article on Steps in Outdoor Shower Installation or watch a video guide to see the process in action.
Step 1: Setting the Foundation and Posts
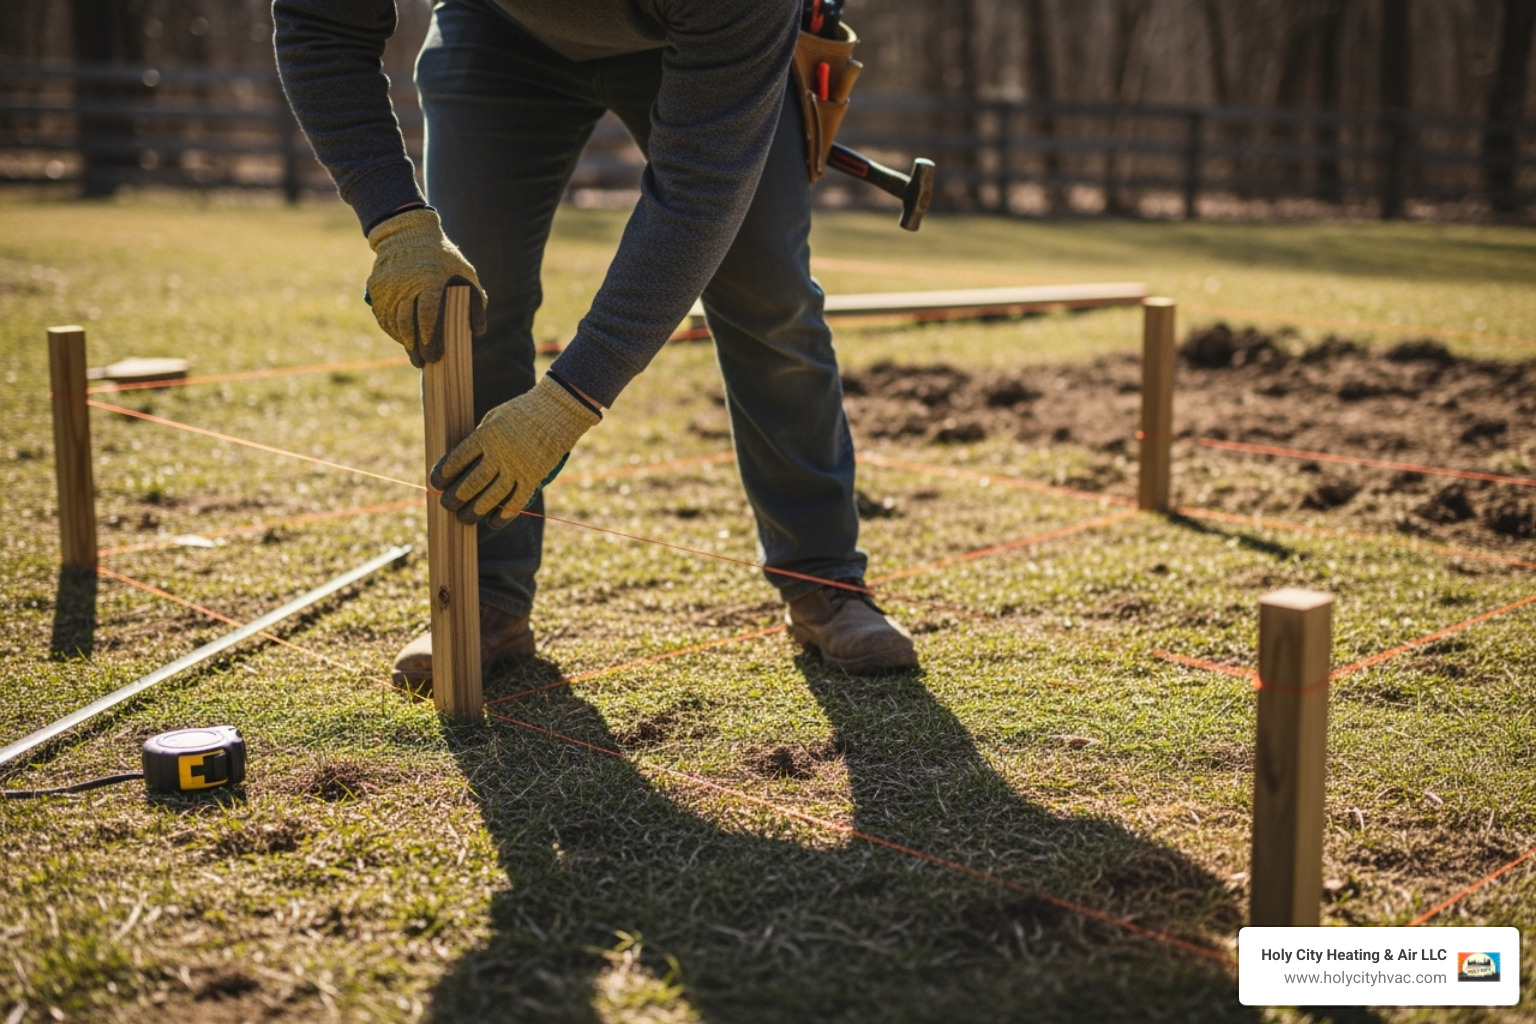
A solid foundation is essential for a durable enclosure. First, prepare the site by clearing debris, rocks, and roots. Next, mark post locations using stakes and string. Double-check your measurements to ensure the enclosure will be square by verifying diagonal measurements are equal.
Dig post holes at least two feet deep and three times the post's width. This depth provides stability, which is important in areas like Charleston. Pro tip: add six inches of gravel to the bottom of each hole for drainage to prevent the wood posts from rotting.
Set the posts in the holes. Use a level to ensure they are perfectly plumb (vertical) on all sides. Once plumb, brace the posts with scrap wood and clamps. Mix and pour concrete around each post, following the product's instructions. Let the concrete cure for 24-48 hours before continuing.
Step 2: Assembling the Walls and Door
Once the posts are set, you can assemble the walls and door.
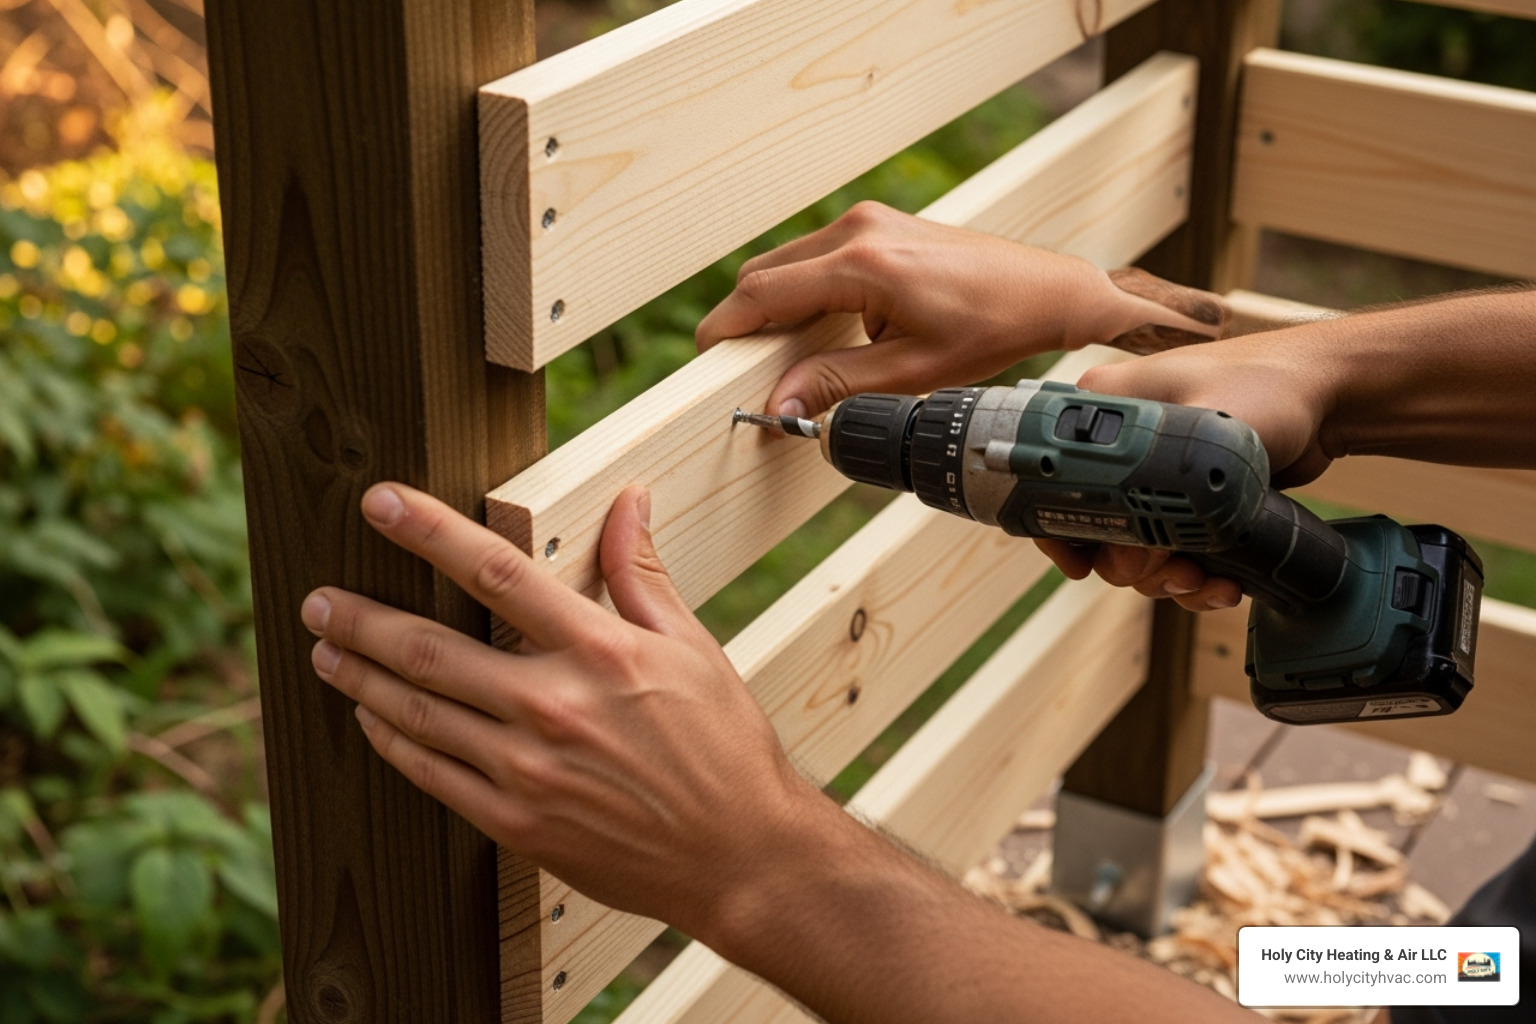
First, attach horizontal stringers (2x4s) between the posts using rust-resistant screws. Place one near the bottom and one near the top, ensuring they are level. Next, install the wall panels or slats. For pre-fabricated panels, follow the manufacturer's instructions. If using individual boards, you can install them horizontally or vertically.
Maintain small gaps (about ¼-inch) between slats for ventilation. This promotes airflow, helps the wood dry, and prevents mildew. For more privacy, you can use two offset layers of slats.
To build a door, first assemble the door frame from 2x4s, ensuring it is square. Use waterproof glue and screws for durability. Attach slats to the door frame, matching the spacing on the walls.
Hang the door using heavy-duty, rust-resistant hinges. Use blocks to support the door's weight while you attach the hinges, spacing them evenly. Finally, install a latch that is easy to use when wet and a door stop (a small block of wood) to prevent the door from swinging inward. Now you have completed the structural portion of learning how to install an outdoor shower enclosure.
Plumbing and Drainage Solutions
Plumbing and drainage are what make your enclosure a functional shower. This step is crucial for a successful how to install an outdoor shower enclosure project. For more details, see our guide on Installing Outdoor Shower.
The plumbing can be simple or complex. A simple cold water setup involves connecting a showerhead to an outdoor spigot via a garden hose, which is great for quick rinses. For hot and cold water, you'll need to tap into your home's water lines. This is a more complex installation that often requires permits and professional help. Our team specializes in Outdoor Shower Installation Charleston SC and can handle these connections safely and to code.
Plumbing and Drainage for How to Install an Outdoor Shower Enclosure
For hot and cold water, a shower valve assembly is needed. We recommend a pressure-balance valve to prevent sudden temperature changes, a key safety feature. For your shower head, you have many options, from spa-like rain shower heads to flexible handheld sprays.
Proper drainage is crucial to avoid standing water and mud. Several options are available:
- A gravel dry well is a popular, effective option. Dig a pit, line it with landscape fabric, fill it with gravel, and cover it with your flooring. Water will percolate into the ground.
- A French drain is ideal for areas with poor drainage. It's a gravel-filled trench with a perforated pipe that directs water away from the shower.
- Connecting to your home's waste system may be necessary if required by local codes. This usually requires a permit and a professional plumber.
A slatted wood floor (duckboard) is a comfortable surface that allows water to drain. Ensure any underlying pipes are sloped to prevent water from pooling.
Winterizing Your Outdoor Shower
In climates with freezing temperatures, winterizing your outdoor shower is essential to prevent burst pipes. Expanding ice can damage your plumbing.
First, shut off the water supply, which is easiest with dedicated isolation valves. Next, drain all water from the pipes by opening the shower valve and any low-point drains. Remove and store shower heads indoors to protect them from freeze damage. Finally, protect the enclosure with a tarp or cover to shield it from winter weather. While full drainage is best, heat tape on exposed pipes is an alternative if complete drainage isn't possible.
Maintenance and Enhancing Your Shower Experience
Proper maintenance will ensure your outdoor shower enclosure lasts for years, and upkeep is straightforward.
Regularly clean fixtures and surfaces with soapy water, especially during peak season. Also, check the drain for debris to ensure proper water flow. For wood enclosures, apply a quality sealant annually to protect against mildew and UV damage, even for weather-resistant woods like cedar.
Perform seasonal checks for leaks at all connections. Also, inspect hardware like hinges and latches to ensure they are functioning correctly.
To improve your shower experience, consider these popular upgrades:
- A built-in bench is a versatile addition for seating or storage.
- Simple additions like towel hooks and shelving for toiletries add convenience and keep the area tidy.
- Outdoor lighting allows for safe and enjoyable evening showers.
- Privacy screens can add extra seclusion if your enclosure has open slats.
- Landscaping with plants like ferns or hostas can create a natural privacy barrier and integrate the shower into your garden, making it feel like a hidden retreat.
Frequently Asked Questions about Outdoor Shower Enclosures
Here are answers to some common questions that come up during the planning and installation process.
How much privacy does an outdoor shower enclosure offer?
The level of privacy depends on the enclosure's design and placement. The enclosure design is key: slatted walls offer ventilation and partial privacy, while full-panel walls provide complete visual blockage. Adding a roof or pergola provides overhead coverage. Strategic placement is also crucial; check sightlines from neighboring properties before building. Finally, landscaping with hedges, tall grasses, or trellises offers a beautiful and effective privacy solution.
What is the best flooring for an outdoor shower?
The best flooring depends on your budget, style, and drainage needs, with safety and proper drainage being top priorities.
- Wood duckboard is a popular choice. These slatted platforms are comfortable and allow for drainage.
- Stone pavers are durable, attractive, and offer good traction. Ensure proper drainage is installed underneath.
- Gravel is a simple, budget-friendly option that provides excellent drainage.
- A concrete slab works if sloped correctly toward a drain. Composite decking is a low-maintenance, slip-resistant alternative.
Can I add hot water to my outdoor shower later?
Yes, you can add hot water later. Feasibility depends on the shower's proximity to your home's hot water lines. If the shower is close, tapping into existing lines is an option, but it requires careful planning. A dedicated outdoor tankless water heater is another great solution, providing on-demand hot water without running lines from inside.
We strongly recommend professional plumbing assistance for adding hot water. This ensures connections are safe, meet code, and have proper pressure balance. Our team can help with Outdoor Shower Installation Mount Pleasant SC.
Your Perfect Outdoor Shower Awaits
Now you know how to install an outdoor shower enclosure. This rewarding project can transform your backyard into a private retreat for rinsing off after the pool, showering under the stars, or connecting with nature.
An outdoor shower offers lasting benefits: it keeps your home cleaner by preventing sand and mud from being tracked inside, provides a spa-like experience, and increases your home enjoyment.
However, some steps, like complex plumbing connections or ensuring proper drainage, can be tricky. Getting these right is crucial to prevent future issues.
That's where Holy City Heating & Air can help. As a family-owned company serving the Charleston area since 2015, our licensed professionals have over 20 years of industry experience. We understand the challenges of coastal living and ensure your plumbing is installed correctly.
Whether you need a new plumbing hookup, a hot water upgrade, or a full professional installation, we're here to help. We offer the resources of a large company with the personal care of a local business.
Ready to make your outdoor shower dreams a reality? Contact our plumbing experts today! and let's create the perfect outdoor oasis for your family.
Recent posts


