

Why Outdoor Shower Installation Is the Perfect Summer Project
Outdoor shower installation has become a popular backyard upgrade for homeowners seeking convenience and luxury. Whether you're rinsing off pool chemicals, washing sandy feet after beach trips, or enjoying a refreshing shower under the open sky, an outdoor shower transforms your backyard into a personal oasis.
Quick Guide to Outdoor Shower Installation:
- Choose your type: Simple hose hookup ($100-500), wall-mounted system ($1,000-3,000), or freestanding structure ($2,000+)
- Select location: Near water source, consider privacy and drainage
- Install plumbing: Connect to garden hose or tap into home's water lines
- Build enclosure: Use weather-resistant materials like cedar or composite
- Add finishing touches: Fixtures, flooring, and accessories
The benefits are clear. Outdoor showers keep dirt and chlorine from entering your home, provide a convenient spot for washing pets and gear, and can significantly increase your property value. As architect Howard Backen describes his outdoor shower experience: "invigorating when it's cold, interesting when it's rainy, and incredibly refreshing when it's sunny and hot."
Installation time ranges from 2-4 hours for simple kits to several days for complex permanent structures. Many outdoor shower projects are well within reach of DIY enthusiasts, especially when using garden hose connections and modern push-fit plumbing fittings.
, wall-mounted shower with hot/cold water connections (pros: full temperature control, professional look, moderate cost; cons: requires plumbing knowledge, permanent installation), and freestanding luxury shower with custom enclosure (pros: spa-like experience, maximum customization, adds significant home value; cons: highest cost, may require permits, complex installation) - outdoor shower installation infographic infographic-line-3-steps-neat_beige")
Planning Your Perfect Outdoor Shower
Successful outdoor shower installation starts with thoughtful planning. Considering location, plumbing, and materials upfront saves time and ensures you create a lasting backyard retreat.
Choosing the Best Location
Choosing the best location requires balancing several important factors.
Privacy is a top priority. Look for naturally tucked-away spots, such as near existing fences, mature trees, or a corner of your house, to provide natural screening.
Convenience is also key. Position the shower for its primary use, whether that's rinsing off after the pool, gardening, or a trip to the beach.
Sun exposure helps the area dry quickly, preventing mold and mildew. It can also naturally warm the water in a simple cold-water setup.
Proximity to a water source simplifies installation and reduces costs. The farther you are from existing plumbing, the more materials and labor are required.
If you're in the Charleston area and feeling overwhelmed, professional guidance can be invaluable. Whether you're considering Outdoor Shower Installation in Charleston, SC or just need expert advice, local professionals understand our coastal climate.

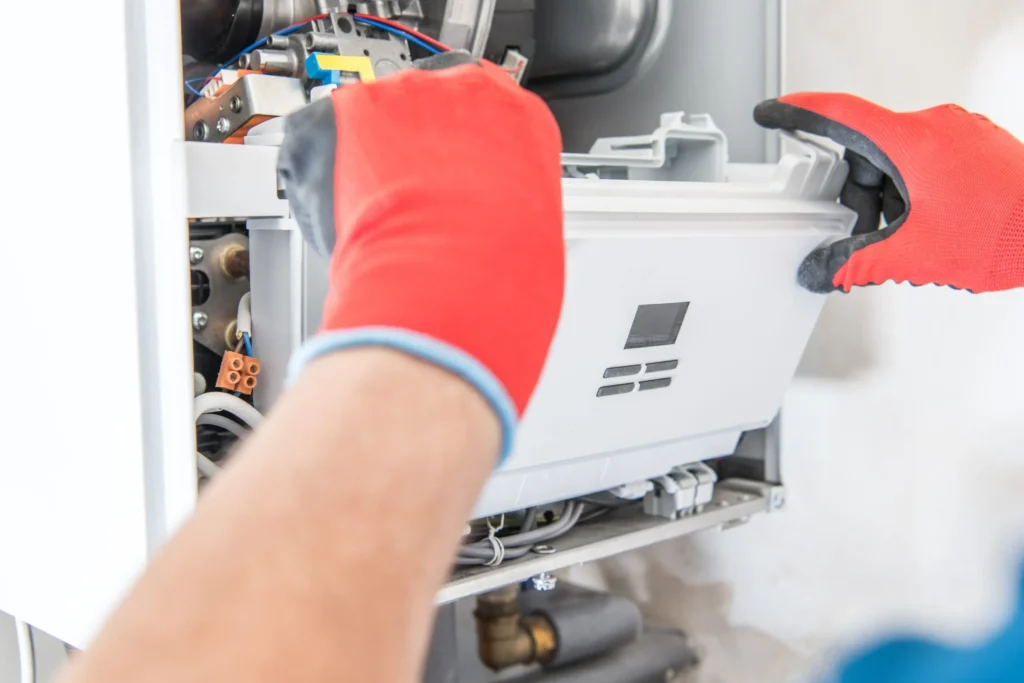
Key Plumbing Considerations for Your Outdoor Shower Installation
Your plumbing choices determine the installation's complexity and your shower experience.
Your water source options range from simple to sophisticated. A garden hose hookup is the easiest route, but typically provides only cold water.
For full temperature control, tapping into your home's hot and cold water lines provides a spa-like experience but increases installation complexity.
Modern PEX tubing simplifies DIY plumbing. This flexible plastic tubing is easier to work with than copper and, when paired with push-fit SharkBite fittings, creates watertight seals without soldering. A quality PEX cutting tool ensures clean cuts.
Shut-off valves are essential for permanent installations. Install them inside your home to protect them from the elements and allow you to easily cut off water for maintenance or winterization, preventing frozen pipes.
A pressure-balance valve is a key safety feature for hot and cold water setups, preventing sudden and potentially dangerous temperature changes.
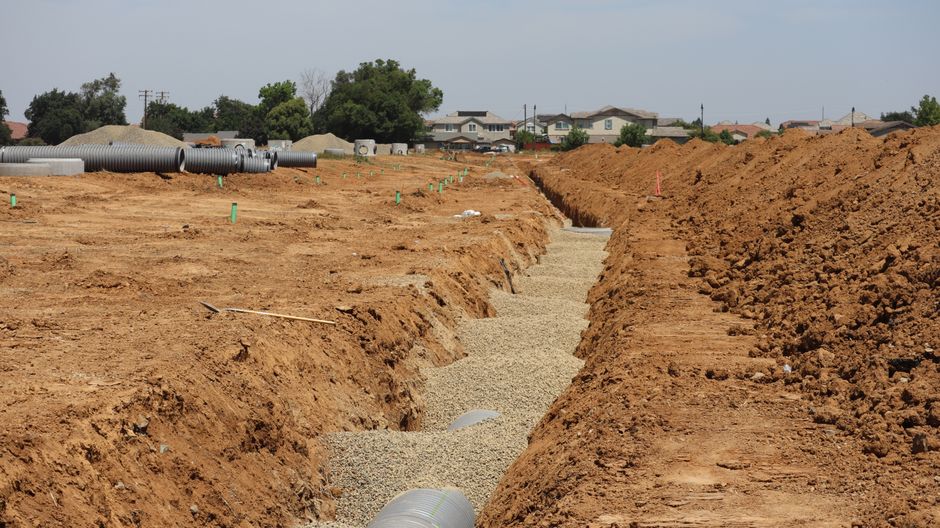
Drainage solutions require careful planning to comply with local codes. While simple showers can drain into landscaping, permanent installations often need a French drain (a gravel-filled trench) or a dry well (an underground collection point) to manage water runoff.
Always check your local codes before beginning a permanent installation to ensure compliance.
Durable Materials and Fixtures
Choosing durable, weather-resistant materials is crucial for a long-lasting outdoor shower.
Weather-resistant wood is a popular choice. Cedar naturally resists rot and insects, aging to a silvery patina. Teak is even more durable but costs more. When shopping, look for sustainably harvested wood certifications.
Composite materials are another excellent option, offering moisture resistance and minimal maintenance with a consistent appearance.

Fixture material is critical. Stainless steel (304-grade for best corrosion resistance) and brass fixtures excel in outdoor environments, withstanding humidity and salt air. Investing in quality fixtures prevents the frustration and expense of replacing corroded, leaking components.
For flooring, prioritize drainage and slip resistance. Options include natural stone, weather-resistant wood decking, or beach pebbles for an attractive, naturally draining surface.
Your Step-by-Step Outdoor Shower Installation Guide
Ready to build? While every outdoor shower installation has its unique quirks, these fundamental steps will guide you through the process. This project is manageable for most DIY enthusiasts, thanks to user-friendly materials.

First, gather your tools. If you learn best by watching, A great DIY video guide can be helpful. For those who prefer blueprints, these Detailed build plans provide all the necessary specifications.
Step 1: Prepare the Foundation and Floor
A solid foundation ensures your shower remains level, stable, and properly drained.
Start by leveling the ground. Clear the area of debris and use a level to ensure it's reasonably flat, making small adjustments with a rake or shovel. An uneven foundation can cause the structure to lean over time.
Next, create a base. A 6- to 12-inch deep gravel bed provides excellent drainage and a stable platform. For heavier structures, consider a concrete pad for maximum stability.
For flooring, stone pavers or wood decking are excellent choices. Whatever you choose, ensuring a proper slope for drainage is essential. A gentle slope (about 1/4 inch per foot) will direct water away, preventing puddles that can become slip hazards or grow mold.
Step 2: Build the Enclosure and Mount the Fixtures
For framing the structure, you can either attach it to a house wall for easy plumbing access or use freestanding posts for a more dramatic look. Always use weather-resistant materials.
When installing privacy walls, you can opt for a full enclosure, partial walls, or even an outdoor curtain. Pro tip: lift the walls about a foot off the ground to promote air circulation and prevent mildew.
Mount the shower valve at a comfortable height, typically 38 to 48 inches from the floor. Set the shower head height around 80 inches from the floor to accommodate most users.
If you're in the Mt. Pleasant area and want professional assistance, our team specializes in Outdoor Shower Installation in Mt. Pleasant, SC and we're here to help make your installation seamless.
Step 3: Connect the Plumbing
Before you begin, shut off the main water supply to your house. This non-negotiable step prevents flooding and water damage.
When connecting supply lines, PEX tubing with SharkBite fittings simplifies the job. For a garden hose setup, a Y-splitter allows you to use the hose for other tasks.
Using PEX and push-fit connectors is straightforward: cut the PEX, mark the insertion depth, and push it into the fitting. This creates a watertight seal without soldering.
Use thread seal tape on all threaded connections, like the showerhead, to ensure they are watertight. Wrap the tape clockwise.
For those looking for alternative hot water ideas, check out A simple hot water solution that might spark some innovation.
Finally, perform a leak test. Slowly turn the main water supply back on and check every connection for drips. If you find a leak, turn the water off and tighten the connection without overtightening.
Maintenance, Improvements, and Costs
With your outdoor shower installation complete, proper maintenance and a few improvements will keep it in top shape for years to come.
Essential Maintenance and Winterization
Regular cleaning is key. A weekly wipe-down with mild soap and water prevents buildup. Perform a deeper clean monthly, paying attention to surfaces prone to algae and cleaning the showerhead and hoses to prevent biofilm.
Preventing mildew relies on airflow and sun. Ensure your enclosure has good ventilation, such as gaps at the bottom of the walls, and is located in a sunny spot.
For a wood enclosure, apply a sealant or stain annually to protect it from the weather and maintain its appearance.
Winterization is crucial, even in the Lowcountry's milder climate, to prevent plumbing damage from freezes. The main goal is to drain all water from the pipes before temperatures drop. The process is simple: Turn off the water supply at the indoor shut-off valve. Open all outdoor taps to let the pipes drain completely. Remove the shower head and store it indoors to protect it from freeze damage. For extra protection, cover the fixtures or the entire structure with a tarp during harsh weather.

Enhancing Your Shower Experience
Simple upgrades can transform your functional shower into a spa-like retreat. Consider adding a built-in bench, convenient towel hooks, or a storage shelf to keep essentials organized. Low-voltage lighting creates a wonderful ambiance for evening showers, while potted plants like bamboo or ferns add beauty and privacy. To complete the experience, treat yourself to some Our favorite towels.
DIY vs. Professional Outdoor Shower Installation
The choice between DIY and professional outdoor shower installation depends on your skill, time, and project complexity.
| Feature | DIY Installation | Professional Installation |
|---|---|---|
| Cost | Lower material costs; no labor expenses | Higher initial investment; potentially better long-term value |
| Time | 2-4 hours for simple kits; days or weeks for complex designs | Faster completion; typically completed in a day |
| Complexity | Best for simple setups like hose-fed systems | Handles complex plumbing, drainage, and code compliance |
| Customization | Limited by your skill set; can be highly customized with experience | Unlimited options with expert design and material selection |
Cost considerations vary dramatically. A simple rinse station can be a budget-friendly DIY project. Mid-range installations with hot/cold water and quality materials are a step up in cost and luxury. Luxury setups with custom features are a significant investment.
When should you hire a professional? For complex plumbing (tapping into home water lines, advanced drainage) or to ensure code compliance, a professional is invaluable. Many Lowcountry communities have specific plumbing regulations. A professional ensures your installation is safe, legal, and gives you peace of mind. If you're considering a more complex setup, our team can help with Outdoor Shower Installation in Kiawah Island, SC and throughout the Charleston area.
Frequently Asked Questions about Outdoor Showers
Here are answers to the most common questions about outdoor showers:
How much does it cost to install an outdoor shower?
Outdoor shower installation costs vary widely based on your design. A simple DIY kit connecting to a garden hose can cost under $200. A basic cold-water station with a permanent fixture and enclosure typically costs a few hundred dollars in materials. Mid-range installations with hot and cold water and a privacy enclosure usually cost in the low thousands. Luxury setups with custom features and high-end fixtures can cost tens of thousands. Plumbing complexity is a major cost factor, and tapping into home water lines generally requires a professional.
Do you need a drain for an outdoor shower?
This depends on your setup and local codes. For simple, hose-fed showers, water can often drain into the landscape, especially with sandy soil and biodegradable soaps. However, permanent installations, especially those with hot water or near a foundation, typically require a dedicated drainage system to prevent water pooling. Local codes may require a dry well, a French drain, or a connection to your home's wastewater system. Always check local building codes before you begin to ensure proper drainage.
How do you winterize an outdoor shower?
Proper winterization is essential to protect your investment from cold snaps and prevent costly repairs. The most important step is to turn off the water supply at an indoor shut-off valve, then drain all water from the outdoor pipes. Open all outdoor taps to let gravity drain the pipes completely, as any remaining water can freeze and cause damage. Remove the showerhead and store it indoors for the winter. For extra protection, consider covering the structure with a tarp to protect materials from harsh weather.
Conclusion
An outdoor shower installation offers a unique connection with nature, turning a daily routine into a special experience. This project adds genuine value to your home and improves daily life. From rinsing off after the pool to showering under the stars, an outdoor shower is an integral part of enjoying your outdoor spaces.
The rewarding nature of this project is also in the building process itself, creating a functional and beautiful addition to your home.
Plumbing and local codes can be tricky. For complex plumbing or when you want a worry-free setup, professional help ensures your outdoor shower is safe, durable, and code-compliant.
At Holy City Heating & Air LLC, we've been helping Charleston-area families create comfortable, functional spaces since 2015. Our team brings over 20 years of industry expertise to every project, treating your home with the same care we'd give our own. We combine the resources of a growing company with the personal attention that only comes from being locally owned and operated.
Whether you're ready to tackle a simple DIY setup or prefer professional installation for a more complex system, your outdoor shower trip starts with that first step. For expert plumbing services in the Charleston area, contact us today!


Recent posts
In Depth Guide to Geothermal Ground Loops Lifespan
July 7, 2026

A Comprehensive Guide to How a Maintenance Plan Extends Equipment Life
July 6, 2026
The Ultimate Guide to Geothermal Pros and Cons for Charleston Area Homes
July 3, 2026


