Why DIY Hot Water Heater Installation Makes Sense
A DIY hot water heater installation can save hundreds in labor costs. While a professional electric tank replacement costs around $1,200, doing it yourself can cut that cost nearly in half, giving you more control over your home's essential systems.
Quick Answer for Hot Water Heater Installation:
- Best for DIY: Electric tank-to-tank replacement in same location
- Time needed: 3-4 hours for most installations
- Cost savings: $400-800 in labor costs
- Key safety rule: Never turn on power before tank is full of water
- When to call a pro: Gas lines, tankless units, or major plumbing changes
Installing a new electric water heater is a manageable project for handy homeowners, involving basic plumbing and electrical work without needing special licenses or expensive tools.
This guide focuses specifically on replacing an existing electric tank water heater with a similar unit in the same location. Gas water heater installations involve dangerous gas line connections, and tankless units often require significant electrical upgrades. Both are best handled by professionals.
Completing this project yourself not only saves money but also provides valuable knowledge about your home's systems and the confidence to tackle future projects.
Before You Begin: Prep, Tools, and Safety
Proper preparation is key to a smooth hot water heater installation. Getting organized upfront will prevent headaches later. The first step is choosing the right replacement unit. Your old water heater's data plate (a metal tag on the side) lists its gallon capacity, voltage, and energy specs.
According to the U.S. Energy Information Administration, water heating accounts for about 18% of your home's total energy use. Choosing an energy-efficient replacement is important for long-term savings.
Before shopping, check your local building codes. Many areas require a permit for water heater replacement, especially if changing locations or fuel types. A quick call to your local building department can prevent complications. Also, check for seismic strapping requirements if you live in an earthquake-prone area, as these straps prevent the tank from toppling.
Critical Safety Precautions
Mixing electricity and water requires serious respect. Handle this combination carefully.
Turn off the power at your electrical panel first. Flip the circuit breaker for your water heater, then test for power with a non-contact voltage tester at the unit itself. Never assume the power is off just because you flipped a switch.
Next, shut off your home's main water supply. This valve is typically where the water line enters your house.
Water heaters are heavy, weighing several hundred pounds even when drained. Get a helper and use an appliance dolly or hand truck.
Water damage is a real risk. Keep buckets, shop towels, and a wet/dry vacuum handy to manage spills.
Choosing Your New Water Heater
Start with your old unit's specifications as a baseline. Consider upsizing the gallon capacity if your family has grown. Pay attention to the Uniform Energy Factor (UEF) rating; a higher UEF means better efficiency. Look for ENERGY STAR certified models for the most efficient options.
Physical dimensions matter. Measure your existing heater's height and diameter and the surrounding space to ensure the new unit will fit. Also, check the warranty coverage, as longer warranties (typically 6-10 years) often indicate better construction.
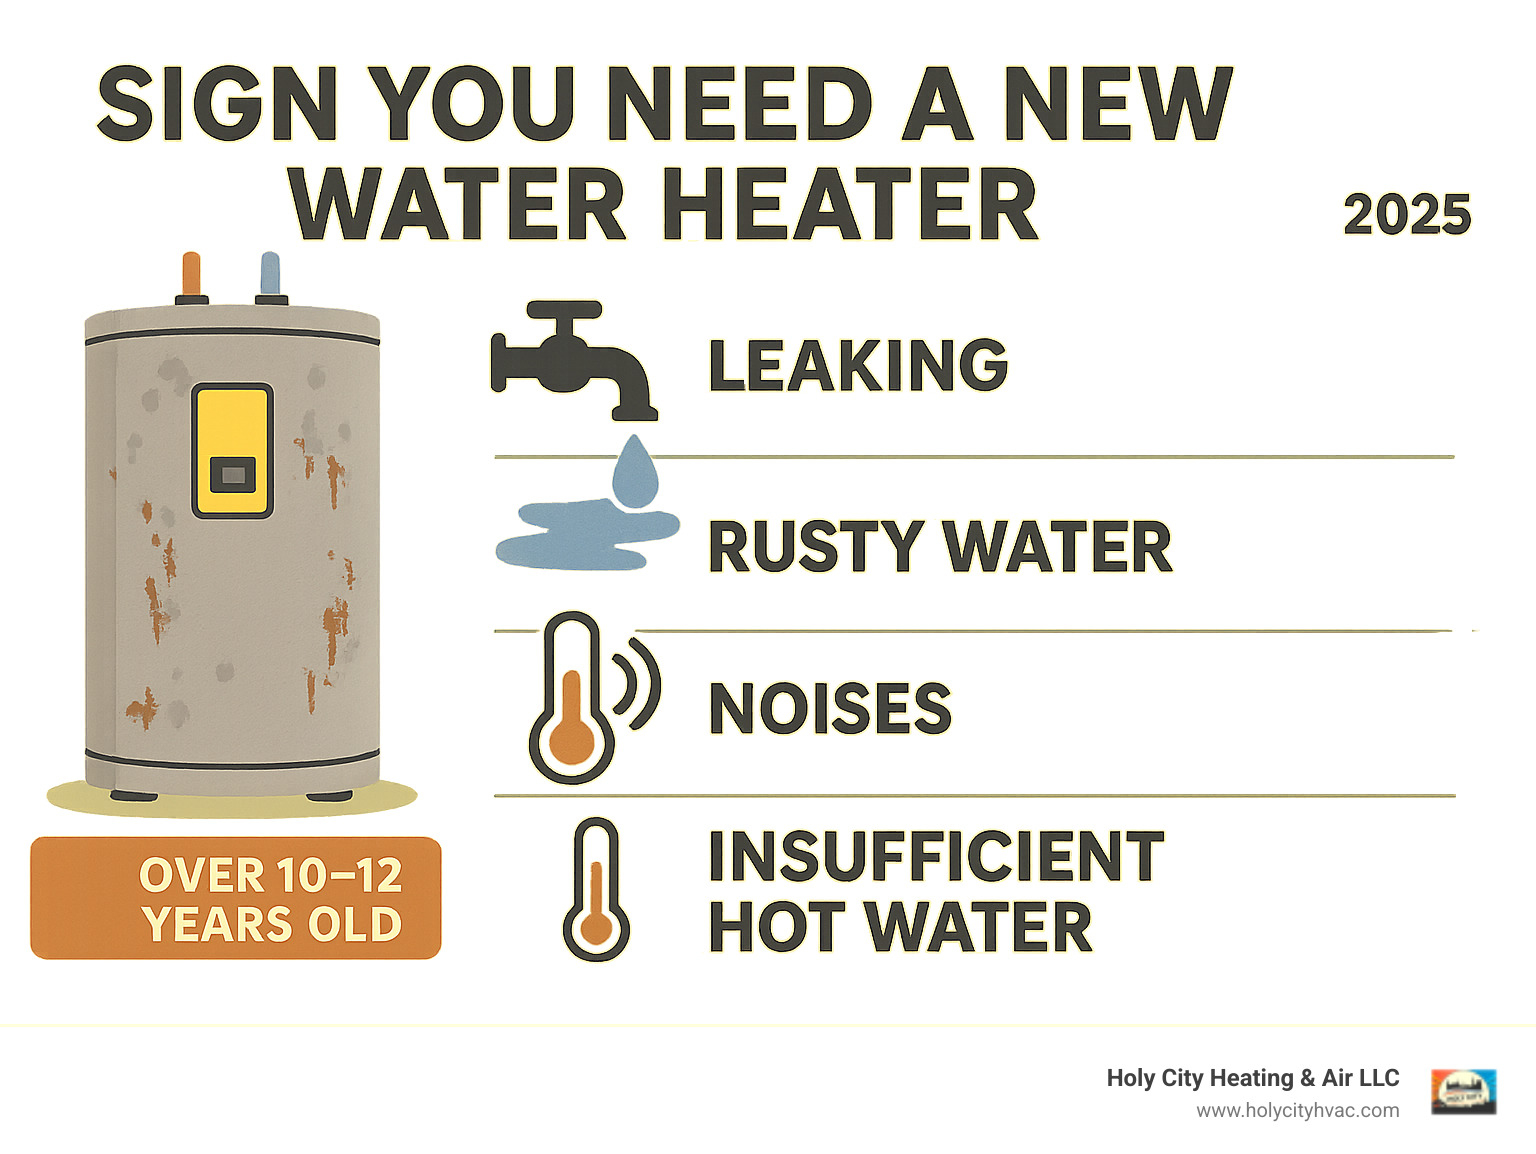
If you're wondering whether it's time to replace your current unit, our guide on Signs You Need Water Heater Repair can help you decide.
Essential Tools & Supplies for Your Hot Water Heater Installation
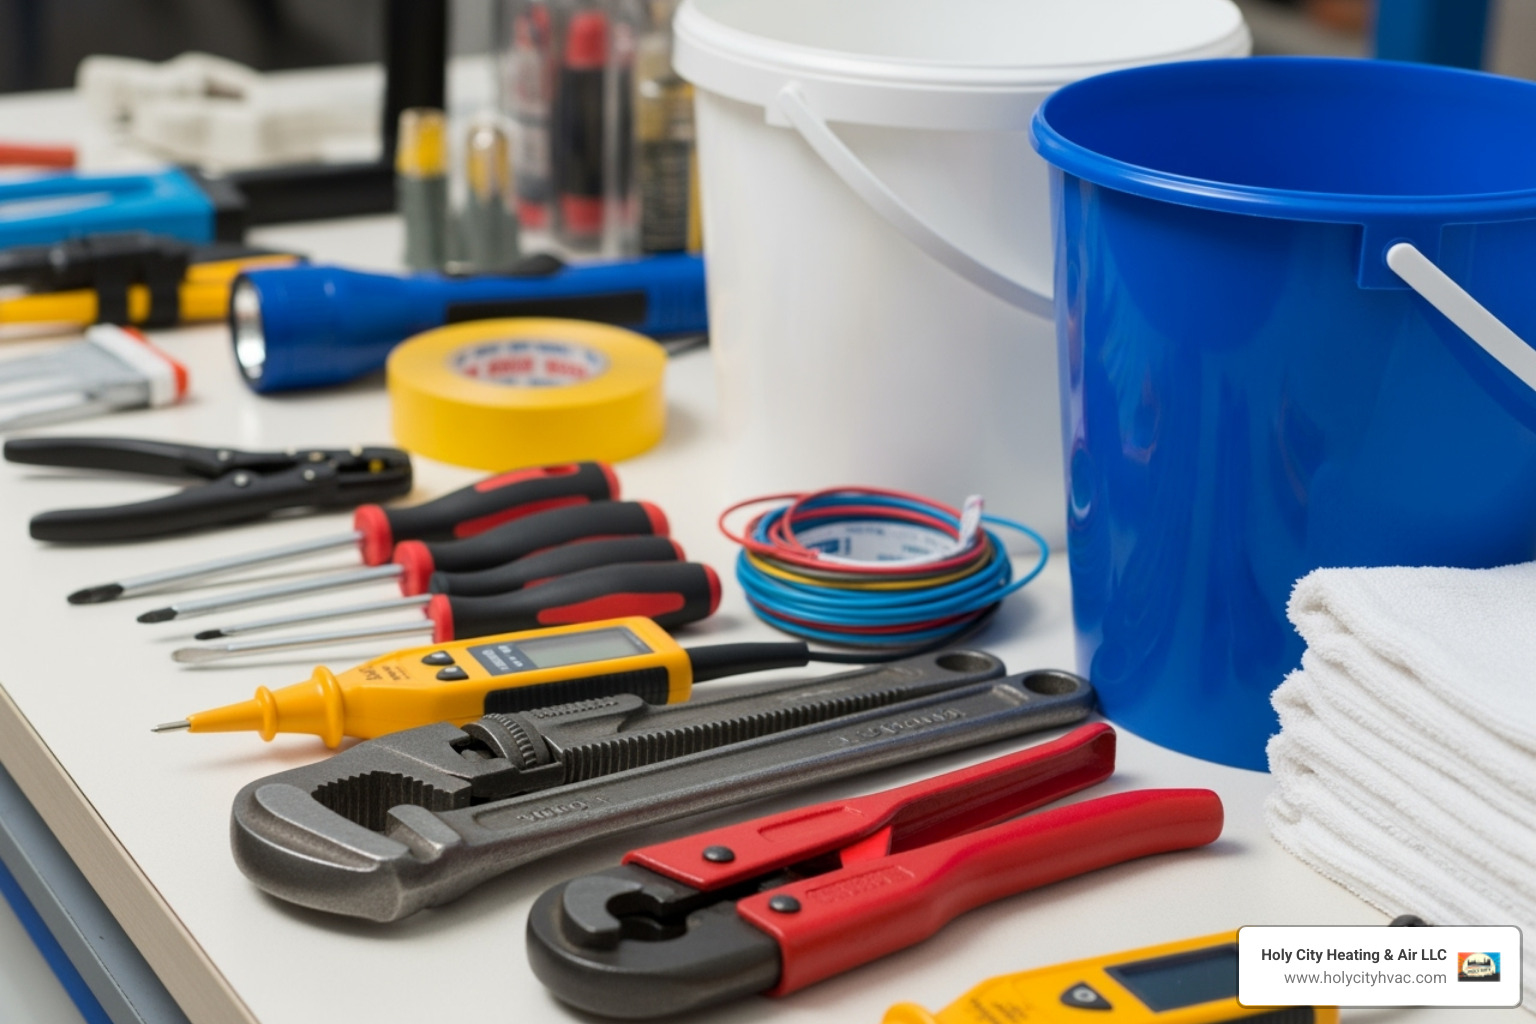
Gathering all your tools and supplies beforehand prevents mid-project hardware store runs.
Tools: You'll need two pipe wrenches, a tube cutter (for copper pipes), a screwdriver set, a non-contact voltage tester (essential), a level, buckets, a garden hose, shop towels, wire strippers, pliers, and an appliance dolly.
Supplies: You'll need your new electric water heater, flexible water connectors (braided stainless steel lines simplify connections), a new Temperature and Pressure Relief Valve, pipe thread sealant (paste or Teflon tape), a drain pan, and wire nuts. If required by code, get the necessary electrical conduit and fittings and an approved discharge pipe (copper, PEX, or CPVC).
The 10-Step Electric Hot Water Heater Installation Guide
This step-by-step guide covers removing the old unit and installing the new one. A careful, unhurried hot water heater installation will prevent future issues.
Steps 1-3: Removing the Old Unit
The first phase is to safely disconnect the old unit from its power and water sources.
Step 1: Shut Off Power and Water
First, completely isolate the unit. At your electrical panel, flip the water heater's circuit breaker to "OFF." Use a non-contact voltage tester at the unit's electrical box to confirm the power is off. This verification is critical to prevent shock. Next, turn the cold water shut-off valve (on the pipe leading into the tank) clockwise until it stops. If there's no dedicated valve, shut off your home's main water supply. Open a hot water faucet elsewhere to relieve pressure.
Step 2: Drain the Tank Completely
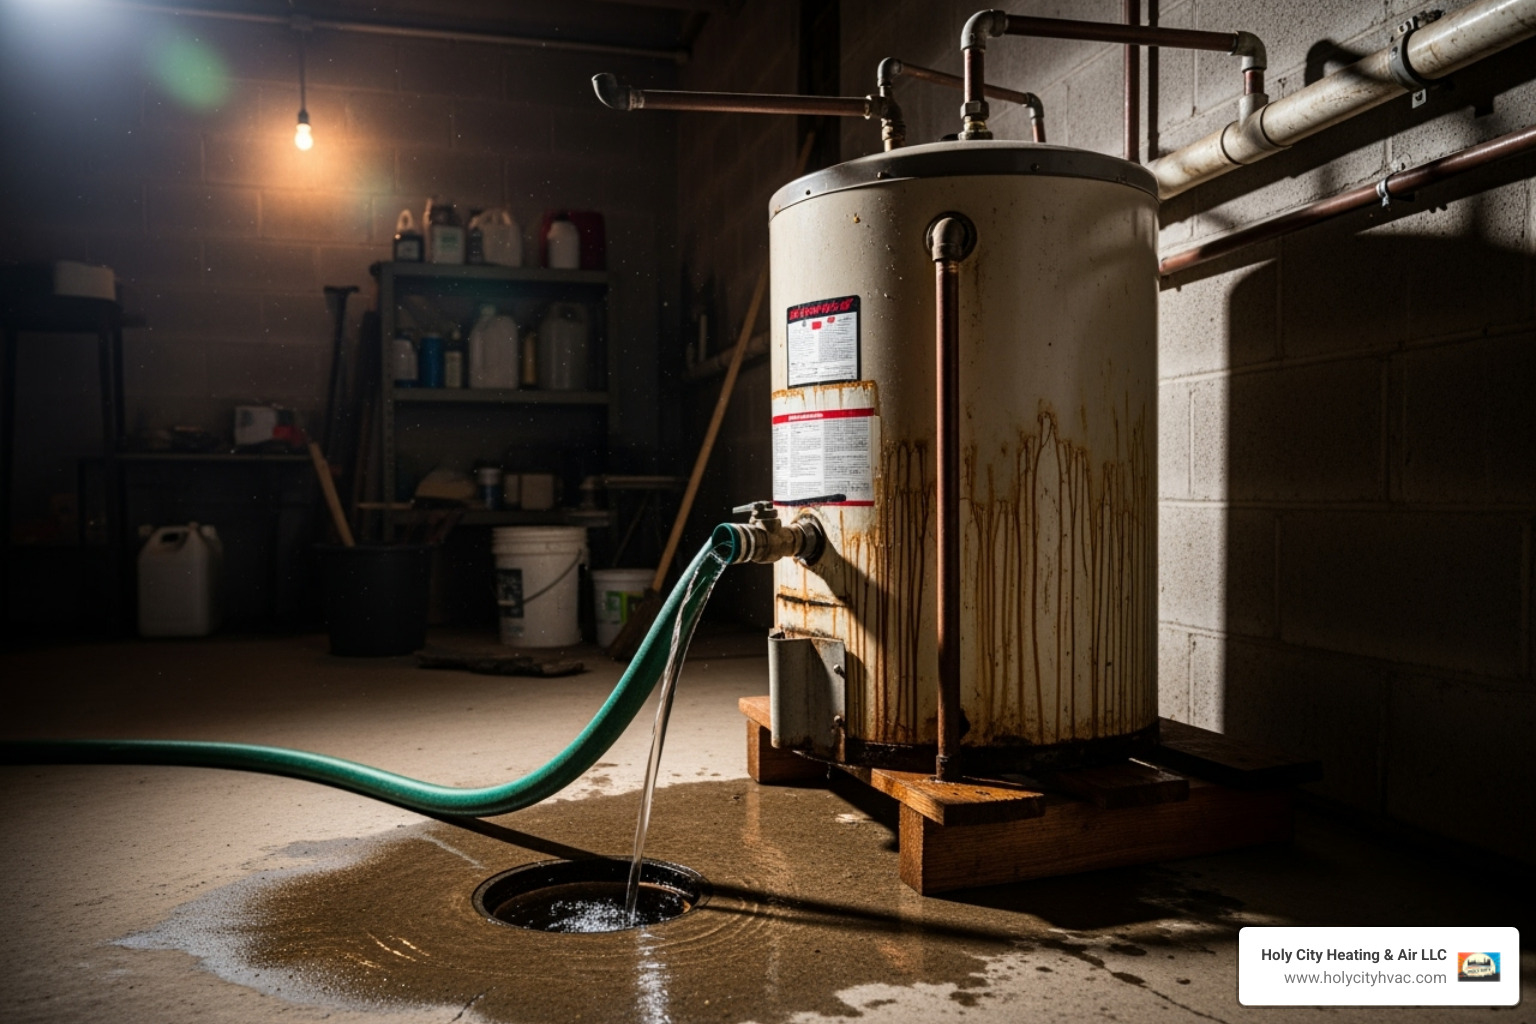
Connect a garden hose to the drain valve near the bottom of the tank and run the other end to a floor drain or outside. Open the drain valve. To speed up draining, open several hot water faucets throughout your house to break the vacuum inside the tank. This process can take a while.
Step 3: Disconnect Electrical and Plumbing Lines
With power confirmed off and the tank drained, you can disconnect everything. Open the electrical access panel on top of the heater. Take a photo for reference, then disconnect the wires (typically black-to-black, white-to-white, and a green/copper ground). Next, use pipe wrenches to disconnect the hot and cold water lines from the top of the unit. Keep a bucket ready for residual water.
Steps 4-7: Positioning and Connecting the New Heater
This phase focuses on proper positioning and making the essential connections.
Step 4: Position Drain Pan and New Heater
A drain pan catches potential leaks. Choose one at least two inches wider than the heater's diameter. Use an appliance dolly and a helper to move the new unit into the pan. Use a level to ensure it sits perfectly straight to prevent sediment problems.
Step 5: Install New T&P Valve and Discharge Pipe
The Temperature and Pressure Relief (T&P) Valve is a critical safety device that prevents dangerous pressure buildup. Apply pipe thread sealant to the valve's threads and install it in the designated opening, tightening it securely. The discharge pipe must be made of approved material (copper, PEX, or CPVC), slope downward, and terminate 1-6 inches above a drain. Never install valves or restrictions on this line.
Step 6: Connect Water Lines with Flexible Connectors
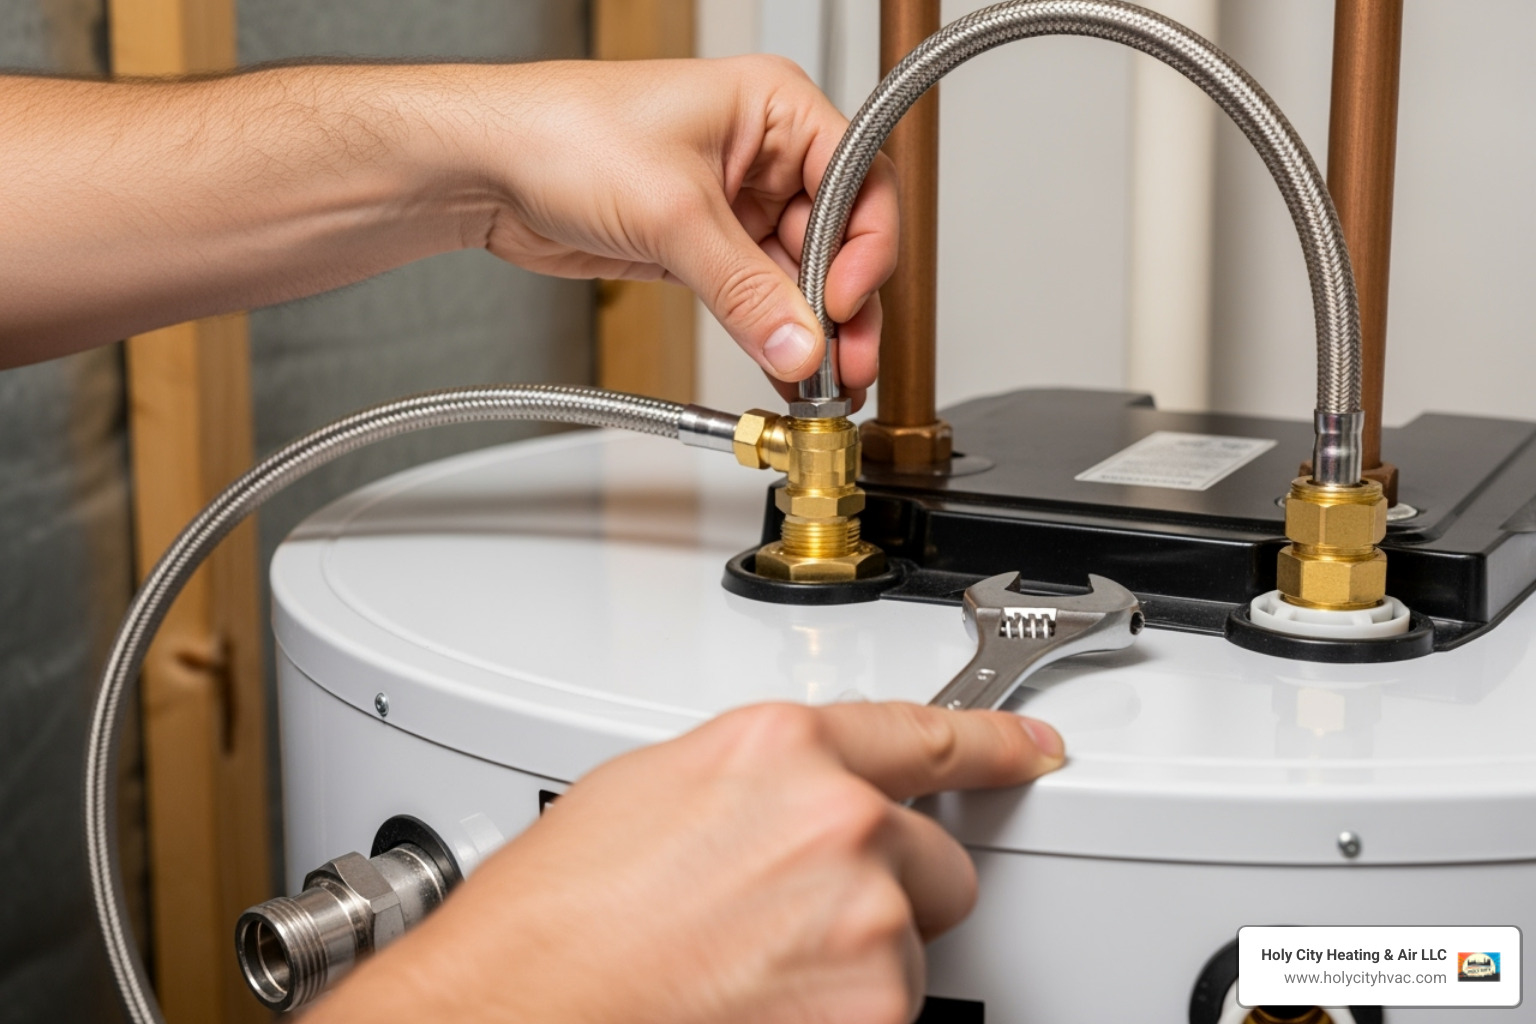
Flexible water connectors simplify connections and forgive minor alignment issues. Always use new supply lines. Apply pipe thread sealant to the heater's threaded inlets, then connect the cold water line to the "C" inlet and the hot water line to the "H" outlet. Tighten with pipe wrenches until snug, but do not over-tighten.
Step 7: Install a Shut-Off Valve
Installing a dedicated shut-off valve on the cold water line above the heater is a smart upgrade. It allows you to service the unit without shutting off water to the entire house.
Steps 8-10: The Final Connections and Power-Up
These final steps are critical for safe operation.
Step 8: Fill the Tank and Purge Air (CRITICAL STEP)
Never turn on electrical power to an empty tank. This mistake, called "dry firing," will instantly destroy the heating elements. Slowly turn the water supply back on. Go to the nearest hot water faucet and let it run for at least three minutes until you get a steady stream with no sputtering or air bubbles. This confirms the tank is full.
Step 9: Complete the Electrical Connections
With the breaker still OFF, open the electrical access panel. Run your home's wiring through the conduit connector. Connect the ground wire (bare copper or green) to the ground screw first. Then, match the power wires to the heater wires (typically black-to-black, white-to-white) using wire nuts, following the manufacturer's instructions. Tuck connections into the junction box and replace the cover.
Step 10: Insulate Pipes and Turn on Power
Pipe insulation is a smart efficiency upgrade. Insulating hot water lines reduces heat loss, and insulating cold water lines prevents condensation. With all connections made, leaks checked, and the tank verified full, return to your electrical panel and flip the breaker to ON. It will take several hours for the water to heat up.
Congratulations on completing your hot water heater installation!
Post-Installation: Best Practices and Maintenance
After your hot water heater installation, proper maintenance is the secret to maximizing its lifespan and efficiency. Proper care can extend your water heater's life to 12-15 years or more. Regular maintenance can extend its lifespan by up to 50% and improve efficiency, which means lower energy bills.
For a more comprehensive guide, check our article on Annual Water Heater Maintenance.
Adjusting Temperature and Preventing Scalds
Your new water heater is likely factory-set to 120°F, a temperature that balances hot water availability with safety. Scald prevention is critical, as water at 140°F can cause a third-degree burn in just five seconds. The 120°F setting is safest for households with children or elderly members.
However, some may want hotter water for dishwashing or to prevent Legionella bacteria, which struggles to survive above 140°F. A smart solution is a thermostatic mixing valve. This allows you to set the tank to 140°F for bacteria control and increased capacity, while the valve mixes in cold water to deliver a safe 120°F at the tap.
For more on system flushing, More info on flushing a water heater to maintain it provides excellent step-by-step guidance.
Long-Term Care for Your New Water Heater
Your new water heater is an investment; proper care will ensure it pays dividends.
The anode rod is a sacrificial metal rod designed to corrode so your tank doesn't. Inspect and replace it every few years, especially with hard water, to add years to your tank's life.
Annual sediment flushing is straightforward and important. Minerals settle at the bottom of the tank, reducing efficiency and causing rumbling noises. Once a year, connect a hose to the drain valve and flush until the water runs clear.
Keep an eye out for small leaks, usually at the connections. Catching a small drip early prevents major water damage later.
Listen to your water heater. Rumbling or popping sounds often mean sediment buildup or a failing heating element. Addressing these noises promptly can prevent larger, more expensive problems.
Frequently Asked Questions about Hot Water Heater Installation
Here are answers to common questions about DIY hot water heater installation.
What is the most common mistake in a DIY hot water heater installation?
The most critical error is turning on the electricity before the tank is completely full of water. This mistake, known as "dry firing," will instantly burn out the upper heating element, requiring a costly repair.
To avoid this, always open a hot water faucet and wait for a strong, steady stream of water to flow out, with no sputtering or air bubbles. Only then should you flip the breaker on. A few minutes of patience can save you a service call and the cost of new parts.
Do I need a permit to replace my water heater?
This depends on your local municipality. Some areas consider a like-for-like replacement as routine maintenance, while others require a permit to ensure the work meets current safety and plumbing codes. You will almost certainly need a permit if you are changing fuel types, moving the location, or upgrading the electrical service.
Always check with your local building department before you start. A quick phone call can save you from future headaches, especially when selling your home or filing an insurance claim.
What are the benefits of using flexible water heater connectors?
Flexible connectors, typically made of braided stainless steel, make a DIY hot water heater installation much easier. They don't require the pipes to be perfectly aligned, can absorb minor movement, and simplify connecting the new heater to your existing plumbing. This saves significant time and effort compared to soldering rigid copper pipes.
The time savings alone make them worthwhile. Just be sure to buy new connectors for your installation; never reuse old parts.
Conclusion: When to DIY and When to Call a Pro
This guide should give you the confidence to tackle your own electric hot water heater installation. Completing this project saves money and provides a genuine sense of accomplishment. A straightforward electric-to-electric swap in the same location is a manageable project for most handy homeowners.
However, it's important to know your limits. Some installations are best left to professionals. Gas water heaters involve dangerous gas line connections and venting that can create serious safety hazards like carbon monoxide poisoning or gas leaks if not handled perfectly.
Tankless water heater installations often require significant electrical upgrades, specialized venting, or major plumbing rerouting. The same applies to any project involving permit complexities or moving your water heater to a new location.
For homeowners in the Charleston area who want peace of mind and a guaranteed safe installation, Holy City Heating & Air LLC provides licensed, EPA-certified technicians backed by over 20 years of industry expertise. We've been proudly serving Charleston and surrounding areas since 2015. Whether you need a Water Heater Installation in Johns Island, SC, or require an Water Heater Installation in Mount Pleasant, SC, our team combines the resources of a growing company with the personal care of a local, family-owned business.
We invest in our team so our customers receive the best service every time. When the job calls for professional expertise, we're here to ensure your installation meets all safety codes and manufacturer specifications.
For a professional and worry-free Water Heater Installation, contact our team today. Sometimes the smartest DIY decision is knowing when to call in the pros!
Recent posts


